ئۆكتەبىر . 22, 2024 09:23 Back to list
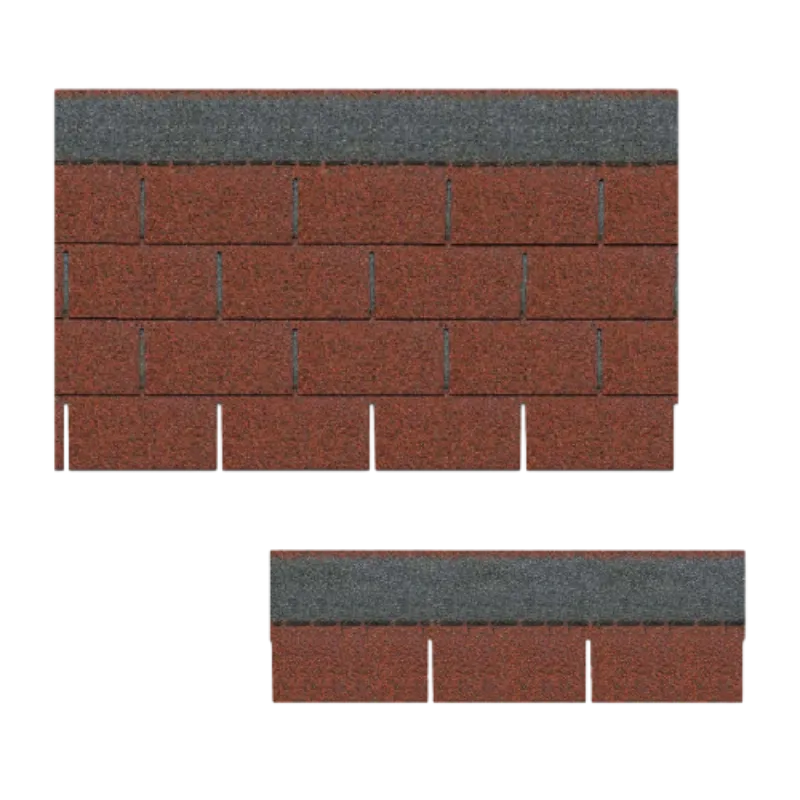
laying down roof shingles
Laying Down Roof Shingles A Step-by-Step Guide
Laying down roof shingles is an essential skill for homeowners and DIY enthusiasts alike. Whether you're repairing an existing roof, building a new home, or simply enhancing your outdoor aesthetic, properly installed shingles protect your property from the elements. In this guide, we will walk you through the steps necessary to successfully lay roof shingles, ensuring a durable and visually appealing finish.
1. Gather Your Materials
Before starting any roofing project, ensure you have all the necessary materials and tools on hand. For laying down shingles, you will need
- Asphalt shingles (or the type of shingles you prefer) - Roofing nails - Roofing underlayment - Flashing for roof edges and chimneys - A chalk line - A utility knife and blade - A hammer or nail gun - Safety equipment, including gloves and goggles
2. Prepare the Roof Surface
Preparation is key to a successful shingle installation. Begin by inspecting the roof deck for any damaged areas or rot. Replace any compromised sections to provide a strong foundation for your shingles. Next, lay down roofing felt or a similar underlayment to protect against moisture. The underlayment should overlap at least 6 inches between rows and be secured with roofing nails.
The next step is to begin laying shingles at the eaves of the roof. Using a chalk line, mark a straight line to guide the placement of your first row. Start with the first shingle; it should hang over the edge of the roof by about half an inch. Secure it in place using nails, ensuring they are driven into the shingle and the underlayment beneath it.
laying down roof shingles

As you move up the roof, stagger the joints between shingles in each row to create a more robust barrier against wind and rain. This staggered pattern helps prevent water from finding a way under the shingles.
4. Lay Down the Shingles
As you continue laying down shingles, work from one side of the roof to the other, ensuring proper alignment with each row. Maintain a consistent overlap of about 5 to 6 inches to ensure adequate protection from water penetration. It is crucial to nail each shingle securely, following the manufacturer's guidelines for nail placement. Improper nailing can lead to shingles lifting in high winds or leaking.
5. Install Flashing
Flashing is an essential component for protecting vulnerable areas of the roof, such as around chimneys, vents, and valleys. Install flashing where necessary to ensure water drains properly away from these areas. Be sure to secure flashing well to prevent any water intrusion.
6. Finishing Touches
Once all the shingles are laid, inspect your work carefully. Look for any loose shingles or areas that may not be adequately secured. Finally, install ridge caps at the peak of the roof to provide the finishing touch and add an extra layer of protection.
Conclusion
Laying down roof shingles is a rewarding project that can significantly enhance the look and durability of your home. By meticulously preparing your roof, evenly placing shingles, and properly installing flashing, you can ensure that your roofing job stands the test of time. With patience and attention to detail, you will achieve a roof that is not only beautiful but also capable of protecting your home for years to come. Happy roofing!
-
Lifetime Roof Shingles – Durable Roofing Solutions for Decades
NewsJun.10,2025
-
Top Roofing Shingles Types Compare Different Types of Architectural Roofing Shingles for Your Home
NewsJun.10,2025
-
Affordable Asphalt Shingle Roll Durable & Easy Flat Roof Solution
NewsJun.09,2025
-
Metal Asphalt Look Roofing Durable Shingle-Style Options
NewsJun.09,2025
-
Premium Clay Valley Roof Tiles Durable & Eco-Friendly
NewsJun.09,2025
-
Modern Clay Pantile Roof Tiles Durable & Stylish Roofing
NewsJun.09,2025


