Aug . 30, 2024 12:12 Back to list
Installing Asphalt Shingles on a Shed - Step-by-Step Guide
Installing Asphalt Shingles on a Shed
Installing asphalt shingles on a shed is a practical way to enhance its durability and protect it from various weather conditions. Whether your shed is for storage, gardening supplies, or as a workspace, having a proper roof is essential for ensuring its longevity. Here’s a step-by-step guide to help you through the installation process.
Materials Needed
Before you start, gather all the necessary materials. You will need asphalt shingles, roofing felt, roofing cement, nails, a utility knife, a hammer, a measuring tape, and safety gear such as gloves and goggles. It’s also beneficial to have a ladder and a sturdy scaffold if your shed is tall.
Preparation
Begin by preparing the shed’s roof. Make sure the surface is clean, dry, and free from any debris. If your shed already has old shingles, consider removing them to ensure a flat surface. Check for any damages in the existing structure; repair any rotting wood or weak spots before proceeding.
Installing Roofing Felt
The first step is to lay down roofing felt. This acts as a moisture barrier and helps protect the wood underneath the shingles. Start at the bottom edge of the roof and work your way up, overlapping each row by about four inches. Use roofing nails to secure the felt in place, making sure it’s flat and smooth.
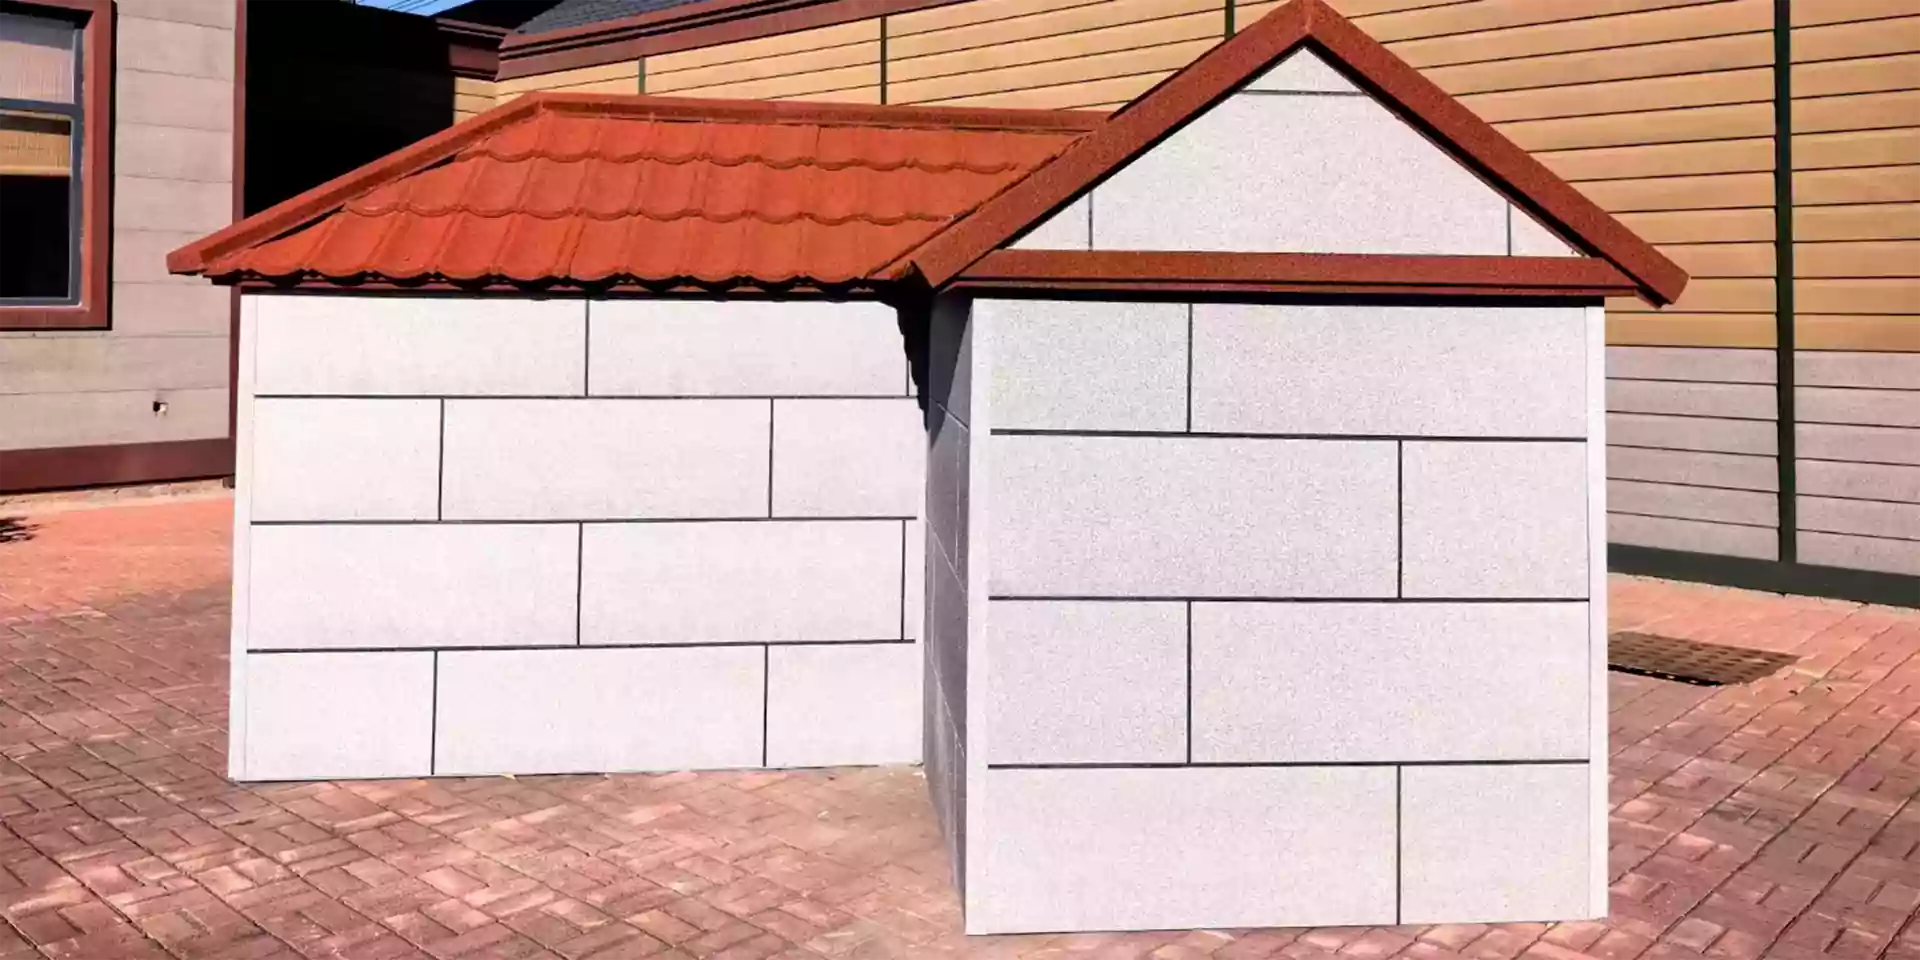
installing asphalt shingles on a shed

Placing the Shingles
Now it’s time to install the asphalt shingles. Begin at the bottom edge of the roof and place the first row of shingles. Ensure that the tabs of the shingles are aligned properly. Nail down each shingle following the manufacturer’s guidelines, usually placing nails about six inches from the bottom edge.
As you continue to add rows, stagger the shingles by cutting the first shingle of the next row to create a staggered pattern. This not only improves the aesthetic appeal but also enhances water runoff, preventing leaks.
Finishing Touches
Once you’ve covered the entire surface, check for any exposed nails at the roof ridge. Apply roofing cement over these areas to seal them and prevent leaks. Lastly, trim any excess shingles around the edges for a clean finish.
Conclusion
Installing asphalt shingles on a shed is a manageable DIY project that can significantly extend its life and functionality. By following these steps and ensuring proper materials and techniques are used, your shed will be well-protected against the elements, providing you with a reliable space for all your needs. Always remember to adhere to safety precautions during the installation process to ensure a smooth and safe experience.
-
Different 3 Tab Shingles Types | Affordable & Durable Roofing
NewsAug.03,2025
-
Moonlight White HIREFLE Granules with GPT-4 Turbo
NewsAug.02,2025
-
Premium Round Asphalt Shingles: Durable & Elegant Roofing
NewsAug.01,2025
-
Eco-Friendly Clay Tiles | AI-Enhanced Durability
NewsJul.31,2025
-
Durable Shingle Granules for Premium Roofs
NewsJul.31,2025
-
Stone Coated Metal Roof Tile-Roman Tile for Durable Roofing Solutions
NewsJul.30,2025


