Sep . 13, 2024 17:05 Back to list
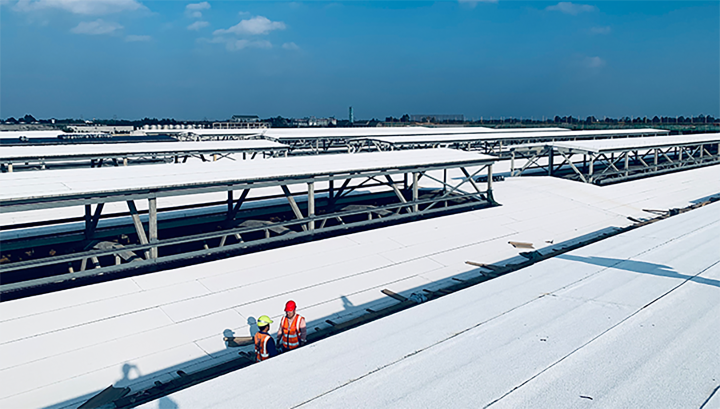
asphalt roll roofing installation
Understanding Asphalt Roll Roofing Installation
Asphalt roll roofing is a popular roofing material, especially for low-slope and flat roofs. It is appreciated for its affordability, ease of installation, and durability. Proper installation is crucial to ensure a long lifespan and effective protection from the elements. In this article, we will explore the step-by-step process of installing asphalt roll roofing.
Preparation
Before starting installation, thorough preparation of the roofing surface is necessary. First, the existing roof should be stripped down to the deck. This ensures that any damaged materials are removed, and an even surface is achieved. The deck should be clean, dry, and free from debris. It’s also important to check for any signs of rot or water damage and to make necessary repairs.
Materials Needed
For asphalt roll roofing installation, you will need the following materials - Asphalt roll roofing - Roofing nails - Roofing cement or adhesive - A utility knife - A roller or broom for smoothing - Safety equipment such as gloves and a hard hat
Measuring and Cutting
Once the roof deck is prepared, it’s time to measure and cut the asphalt rolls. Asphalt roofing typically comes in large rolls, so it’s important to measure the roof area accurately to determine how many rolls you will need. Use a utility knife to cut the rolls to the appropriate lengths, ensuring that you make clean cuts for better adhesion.
asphalt roll roofing installation

Installation
1. Starting Point Begin installing the first roll at the lower edge of the roof, ensuring that it overlaps the roofing material below it by about 3 inches. This overlap will help direct water away from the seams.
2. Securing the Roll Use roofing nails to secure the roll in place, spacing them around 6 inches apart along the edges and 12 inches apart in the field of the roll. For added protection, you may also apply a layer of roofing cement under the roll before securing it with nails.
3. Rolling the Second Layer After the first layer is secured, roll out the second layer, ensuring it overlaps the first by at least 6 inches. This layering is crucial for waterproofing and to prevent potential leaks.
4. Smoothening Out As you lay down each roll, make sure to smooth out any air bubbles or wrinkles. Using a roller or broom helps in achieving a flat and even surface, which is important for both aesthetics and functionality.
5. Finish Edges Once all rolls are installed, trim any excess roofing material at the edges, and apply roofing cement to seal the edges and seams. This will further enhance the roof’s ability to withstand harsh weather conditions.
Conclusion
Installing asphalt roll roofing can be a manageable DIY project for homeowners with some basic tools and skills. However, for larger roofs or those that may pose safety concerns, hiring a professional is often the best approach. Proper installation ensures that your roof will provide protection, durability, and value for many years to come. Remember, a well-installed roof is a critical aspect of your home’s structural integrity and overall appearance.
-
Premium Stone Coated Metal Roof Tiles | Spain Tile
NewsAug.05,2025
-
Types of Roof Shingles: Durable Styles & Materials
NewsAug.04,2025
-
Different 3 Tab Shingles Types | Affordable & Durable Roofing
NewsAug.03,2025
-
Premium Round Asphalt Shingles: Durable & Elegant Roofing
NewsAug.01,2025
-
Eco-Friendly Clay Tiles | AI-Enhanced Durability
NewsJul.31,2025
-
Durable Shingle Granules for Premium Roofs
NewsJul.31,2025


