Aug . 27, 2024 16:24 Back to list
installing laminate shingles
Installing Laminate Shingles A Comprehensive Guide
Installing laminate shingles is a popular choice for homeowners looking to enhance the aesthetic appeal and durability of their roofs. These shingles, made of multiple layers of material, offer the look of traditional roofing while providing excellent protection against the elements. This guide will walk you through the essential steps for a successful installation.
Preparation and Safety
Before you start, make sure to gather all necessary tools and materials. You'll need laminate shingles, underlayment, roofing nails, a hammer, a utility knife, a measuring tape, a chalk line, and a ladder. Safety should always come first, so wear a hard hat, safety goggles, and slip-resistant shoes while working on your roof.
Step 1 Inspect Your Roof
Start by inspecting your existing roof structure. Look for damages like rotten wood or sagging that may need repairs. It’s crucial to ensure a solid base for your laminate shingles, as any underlying issues could lead to premature wear or leaks.
Step 2 Remove Old Roofing
If you're replacing an old roof, carefully remove existing shingles. Start at the peak and work your way down, using a pry bar to lift each shingle. Be cautious of any debris that may fall and take the opportunity to check the roof deck for any signs of damage.
Step 3 Install Underlayment
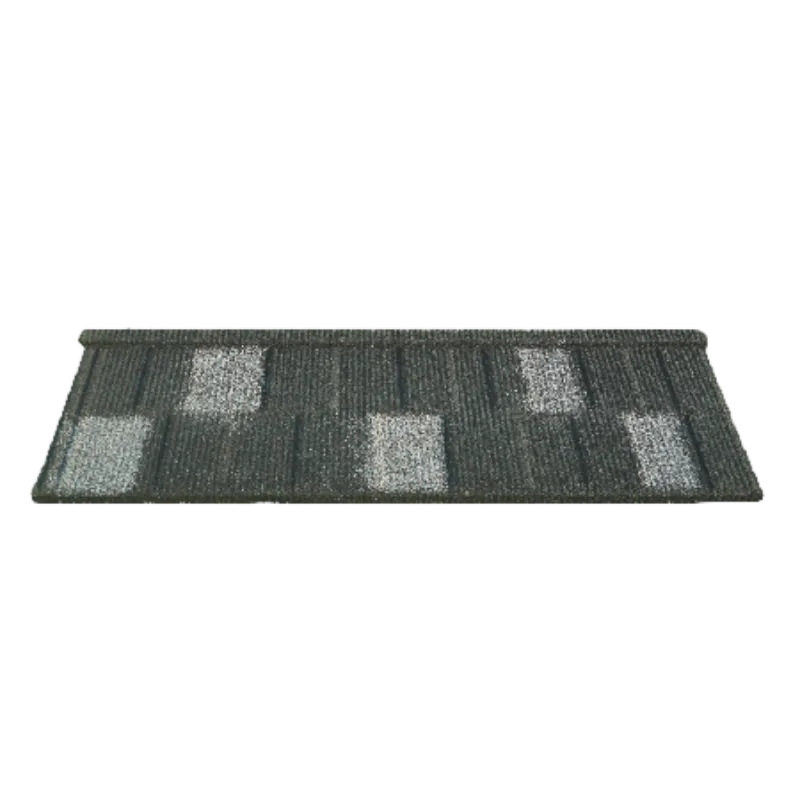
installing laminate shingles

Once the old roof is removed, install a waterproof underlayment over the entire roof deck. This barrier will help protect against water infiltration. Ensure that the underlayment is laid in a manner that overlaps, starting from the bottom edge upward.
Step 4 Start Installing Laminate Shingles
Begin installing laminate shingles at the eaves, staggering the seams for a visually appealing finish and added durability. Use a chalk line to ensure each row is straight. Fasten the shingles with roofing nails, ensuring that each nail penetrates deeply into the wood.
Step 5 Cut Shingles for Edges and Valleys
As you approach the edges and valleys, you may need to cut shingles to fit. Use a utility knife for precise cuts, and ensure that any cuts made for ventilation or protrusions are neatly covered with additional shingles as necessary.
Step 6 Final Inspections and Cleanup
After all shingles are installed, perform a thorough inspection. Check that all nails are securely placed and that there are no gaps. Remove any debris from your work area, and ensure that the ground around your home is safe.
Conclusion
Installing laminate shingles is a rewarding DIY project that can significantly enhance your home’s appearance and resilience. By following these steps and ensuring safety throughout the process, you can achieve a stunning new roof that stands the test of time. However, if at any point you feel uncertain, it's wise to consult with or hire a professional roofer to ensure the job is done correctly.
-
Different 3 Tab Shingles Types | Affordable & Durable Roofing
NewsAug.03,2025
-
Moonlight White HIREFLE Granules with GPT-4 Turbo
NewsAug.02,2025
-
Premium Round Asphalt Shingles: Durable & Elegant Roofing
NewsAug.01,2025
-
Eco-Friendly Clay Tiles | AI-Enhanced Durability
NewsJul.31,2025
-
Durable Shingle Granules for Premium Roofs
NewsJul.31,2025
-
Stone Coated Metal Roof Tile-Roman Tile for Durable Roofing Solutions
NewsJul.30,2025


