Aug . 10, 2024 03:25 Back to list
Steps to Effectively Replace Damaged Roof Shingles for Optimal Home Protection and Aesthetic Appeal
Replacing Damaged Roof Shingles A Comprehensive Guide
Roofs are the unsung heroes of our homes, shielding us from the elements while ensuring comfort within. However, over time, exposure to harsh weather conditions, UV rays, and general wear and tear can lead to damaged roof shingles. Recognizing when to replace these shingles is crucial to maintaining your roof's integrity and prolonging its lifespan. This article explores the reasons for replacing damaged roof shingles, the steps involved in the process, and the benefits of timely repairs.
Identifying Damaged Roof Shingles
Before delving into the replacement process, it's important to identify damaged shingles. Common signs of damage include missing shingles, cracked or curled shingles, and ones that have lost their granules. If you notice water stains on your ceiling or walls, that may indicate leaks caused by compromised shingles. Regular roof inspections, ideally twice a year, can help catch these issues early and save you from costly repairs in the future.
The Importance of Timely Replacement
Neglecting to replace damaged shingles can lead to a host of problems. Water infiltration is the most significant concern, as it can lead to mold growth, structural damage, and rot in your home’s framework. Additionally, the longer you wait to address the issue, the more shingles may become compromised, leading to larger and more costly repairs. Investing in timely replacement not only protects your home but also enhances its curb appeal—an appealing roof can increase your property’s value.
Steps to Replace Damaged Roof Shingles
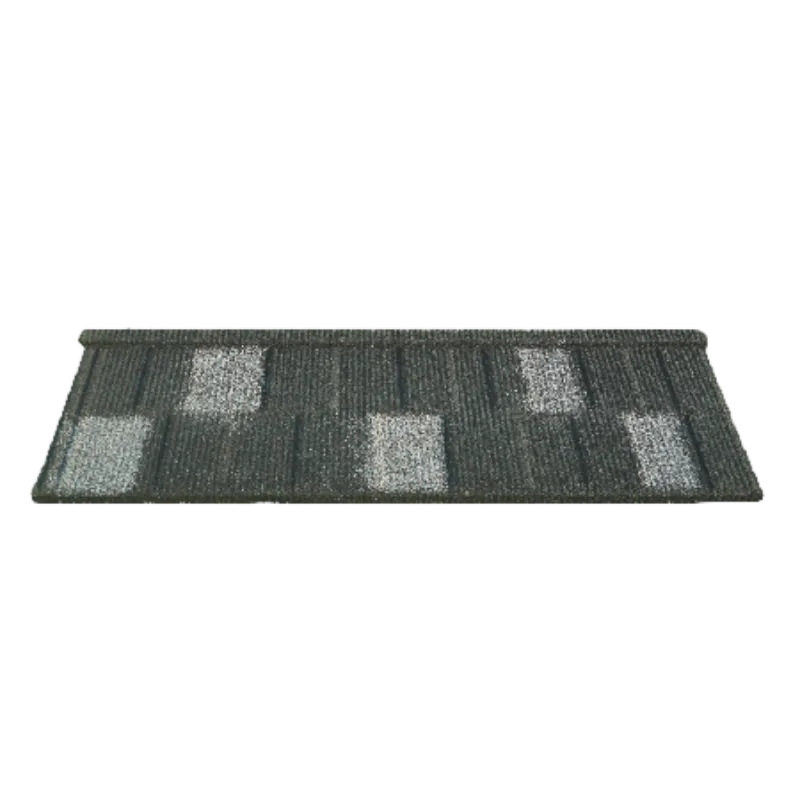
replacing damaged roof shingles

1. Safety First Before you start, ensure you have the right safety gear sturdy shoes, a helmet, and a harness if you’re working on a steep roof. Additionally, a sturdy ladder that extends well above the roofline is essential for access.
2. Inspect the Area Once on the roof, carefully inspect the area around the damaged shingles. Determine whether it’s a single shingle or if multiple pieces need replacement.
3. Remove Damaged Shingles Begin by prying up the damaged shingles gently using a flat pry bar. Be cautious around surrounding shingles to avoid causing further damage. Once the old shingles are removed, check the underlayment and wood decking for any signs of moisture or rot and replace them if necessary.
4. Install New Shingles Before installing new shingles, ensure they match the existing ones in style and color. Slide the new shingle into place, aligning it correctly with the existing shingles. Nail down the shingle following the manufacturer's guidelines, typically using four to six nails per shingle, depending on the type.
5. Seal and Finish Apply roofing cement under the edges of the new shingles to secure them and provide added protection against wind uplift. Make sure there are no gaps or spaces that could allow water infiltration.
Conclusion
Replacing damaged roof shingles may seem like a daunting task, but with proper identification and timely action, it can be managed effectively. By understanding the importance of maintaining your roof and following the necessary steps for replacement, you can protect your home from further damage while enhancing its appearance. If the task feels too overwhelming or extensive, don’t hesitate to consult with a professional roofing contractor. Remember, investing in your roof's health today can save you from extensive repairs in the future.
-
Durable Shingle Granules for Premium Roofs
NewsJul.31,2025
-
Stone Coated Metal Roof Tile-Roman Tile for Durable Roofing Solutions
NewsJul.30,2025
-
Stone Coated Metal Roof Tile-Wood Grain Tile for Durable Roofing
NewsJul.30,2025
-
Stone Coated Metal Roof Tile-Nosen Tile: Durable, Stylish Roofing Solution
NewsJul.29,2025
-
Premium Moonlight White HIREFLE Granules for High-Quality Surfaces
NewsJul.29,2025
-
Stone Coated Metal Roof Tile-Grouper Tile | Durable & Stylish Roofing
NewsJul.29,2025


