Dec . 11, 2024 09:11 Back to list
Guide to Installing Laminate Shingles for a Durable Roof Finish
Installing Laminate Shingles A Comprehensive Guide
Laminate shingles have become a popular roofing choice for homeowners looking for a blend of durability, aesthetics, and affordability. These shingles mimic the appearance of traditional materials like wood or slate while offering the resilience of modern technology. Installing laminate shingles can be a rewarding DIY project or a task for professional roofers. In this article, we'll guide you through the essential steps for installing laminate shingles correctly and efficiently.
Understanding Laminate Shingles
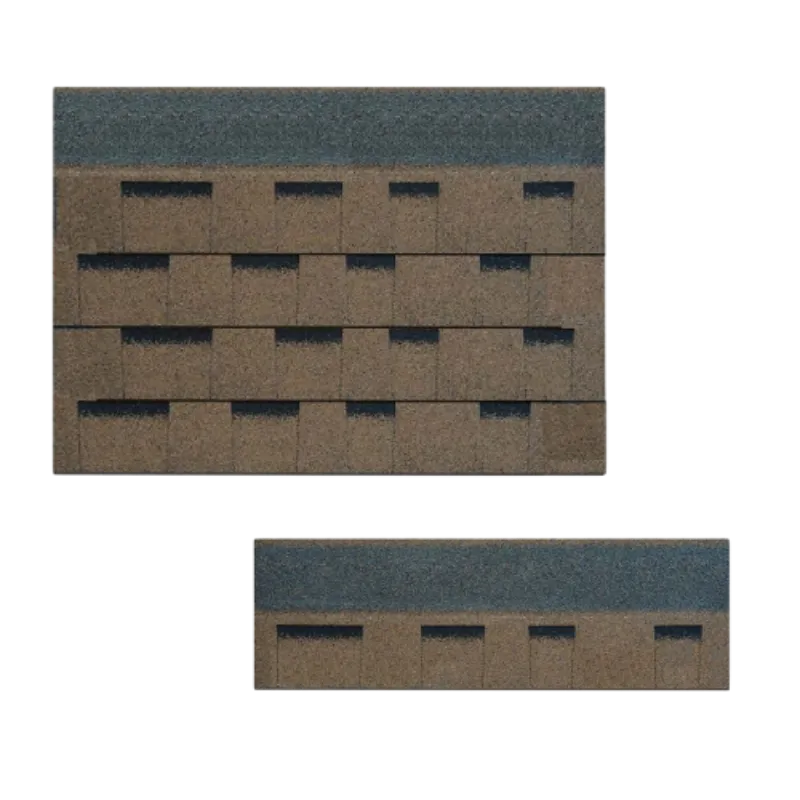
Laminate shingles, often referred to as architectural shingles, are typically made from fiberglass and asphalt, layered to create a thicker, more durable shingle. They provide better wind resistance and longevity compared to traditional three-tab shingles. Additionally, they often come with warranties spanning 25 years or more, making them an appealing choice for many homeowners.
Tools and Materials Needed
Before you start the installation process, it's essential to gather the necessary tools and materials
Tools - Roofing gun or hammer - Utility knife - Tape measure - Chalk line - Ladder - Safety harness - Roofing shovel (for removing old shingles) - Scraper (for cleaning the roof surface)
Materials - Laminate shingles - Underlayment - Starter strips - Roofing nails - Roof flashing (for chimneys and vents)
Step-by-Step Installation Process
installing laminate shingles

1. Preparation - Safety First Ensure you have a sturdy ladder and wear safety gear like a harness. Check the weather forecast to avoid working in the rain or high winds. - Remove Old Roof If you're replacing existing shingles, use a roofing shovel to remove them. Dispose of the old materials responsibly.
2. Inspect the Roof Deck - Examine the roof deck for any signs of damage or rot. Repair any issues to provide a solid foundation for your new shingles.
3. Install Underlayment - Lay down a high-quality underlayment to protect your roof from moisture. Start at the bottom and work your way up, overlapping each row to ensure water runs off rather than seeping under the shingles.
4. Install Starter Strips - Install a starter strip along the eaves of the roof. This will help keep the first row of shingles aligned and provide additional protection against water infiltration.
5. Lay Laminate Shingles - Begin at the bottom edge of the roof and work your way up. Position the first laminate shingle over the starter strip, ensuring that it overhangs slightly. Secure it with roofing nails, driving them in flush to avoid damaging the shingle. - Continue to install shingles, staggering the seams between each row for a more aesthetically pleasing appearance and added strength.
6. Install Flashing - Use flashing around chimneys, vents, and other protrusions to ensure a watertight seal. Proper flashing installation is crucial for avoiding leaks in the future.
7. Finishing Touches - Once all shingles are installed, check for any exposed nails or uneven edges. Cut any excess shingles with a utility knife for a clean finish. - Inspect the entire roof for any loose shingles and nail them down as needed.
Conclusion
Installing laminate shingles can significantly enhance the appearance and durability of your home’s roof. With the right tools, materials, and following the proper steps, you can achieve a professional-looking installation. Always prioritize safety and don’t hesitate to consult a professional if the scope of the project seems overwhelming. Enjoy your newly installed roof and the peace of mind that comes with a durable and stylish covering!
-
Rubber Roofing Shingles - Durable & Weatherproof SBS Rubber Asphalt Shingles for Homes & Businesses
NewsJul.08,2025
-
Crest Double Roman Roof Tiles – Durable, Stylish Roofing Solution at Competitive Prices
NewsJul.08,2025
-
T Lock Asphalt Shingles Durable Roofing Solution for Long-lasting Protection
NewsJul.08,2025
-
Top Stone Coated Metal Roofing Suppliers & Manufacturers Durable Stone Coated Metal Tile Solutions
NewsJul.07,2025
-
How Many Bundles of Asphalt Shingles in a Square? Fast Roofing Guide & Tips
NewsJul.07,2025
-
How Long Should a Cedar Shake Roof Last? Expert Guide & Replacement Options
NewsJul.06,2025


