
coolroof@cnchida.com
+86 13803333363
 Afrikaans
 Albanian
 Amharic
 Arabic
 Armenian
 Azerbaijani
 Basque
 Belarusian
 Bengali
 Bosnian
 Bulgarian
 Catalan
 Cebuano
 Corsican
 Croatian
 Czech
Czech
 Danish
 Dutch
Dutch
 English
 Esperanto
 Estonian
 Finnish
 French
 Frisian
 Galician
 Georgian
 German
 Greek
Greek
 Gujarati
 Haitian Creole
 hausa
hausa
 hawaiian
 Hebrew
 Hindi
Hindi
 Miao
Miao
 Hungarian
 Icelandic
 igbo
igbo
 Indonesian
 irish
irish
 Italian
 Japanese
 Javanese
 Kannada
 kazakh
 Khmer
Khmer
 Rwandese
 Korean
 Kurdish
 Kyrgyz
 Lao
Lao
 Latin
Latin
 Latvian
 Lithuanian
 Luxembourgish
 Macedonian
 Malgashi
 Malay
Malay
 Malayalam
 Maltese
 Maori
Maori
 Marathi
 Mongolian
 Myanmar
 Nepali
 Norwegian
 Norwegian
 Occitan
 Pashto
 Persian
 Polish
 Portuguese
 Punjabi
 Romanian
 Russian
 Samoan
 Scottish Gaelic
 Serbian
 Sesotho
 Shona
Shona
 Sindhi
 Sinhala
 Slovak
 Slovenian
 Somali
 Spanish
 Sundanese
 Swahili
 Swedish
 Tagalog
 Tajik
Tajik
 Tamil
Tamil
 Tatar
Tatar
 Telugu
 Thai
Thai
 Turkish
 Turkmen
 Ukrainian
 Urdu
Urdu
 Uighur
 Uzbek
Uzbek
 Vietnamese
 Welsh
Welsh
 Bantu
Bantu
 Yiddish
 Yoruba
 Zulu
Zulu
nov . 28, 2024 01:30 Back to list
Guide to Installing Clay Roof Tiles for a Durable and Stylish Home Roof
Installing Clay Roof Tiles A Comprehensive Guide
Clay roof tiles have been a popular choice for homeowners and builders alike for centuries. Their rustic charm, durability, and energy efficiency make them a sought-after roofing material across various climates. If you're contemplating installing clay roof tiles, either on a new build or as part of a renovation, this guide will walk you through the necessary steps, considerations, and best practices to ensure a successful installation.
Understanding Clay Roof Tiles
Clay tiles come in numerous shapes, sizes, and colors, allowing for versatile design applications. Traditionally, they are made from natural clay that is molded and baked at high temperatures, resulting in a robust product that can withstand harsh weather conditions. Known for their longevity, clay tiles can last over 50 years when properly installed and maintained. Moreover, their thermal mass properties help to regulate indoor temperatures by keeping homes cooler in the summer and warmer in the winter.
Tools and Materials Needed
Before you start the installation, it’s crucial to gather all the necessary tools and materials. Here's a comprehensive list
- Clay roof tiles - Underlayment (such as synthetic felt or rubberized membrane) - Battens and purlins (to create a supporting framework) - Roof nails or screws - A chalk line for marking alignment - A utility knife for cutting tiles - A hammer and nail gun (or hand nailing tools) - Safety goggles and gloves for personal protection
Preparation for Installation
1. Check Building Codes Before beginning any roofing project, it's essential to check local building codes and regulations. Some areas may have specific requirements regarding materials used or installation methods that must be followed.
2. Evaluate the Roof Structure Ensure that the underlying roof structure is sound. Inspect rafters and sheathing for damage or decay, and repair or replace any problematic sections. The roof should be pitched to allow proper drainage; ideally, a slope of at least 412 is recommended for clay tiles.
3. Install Underlayment Lay down a waterproof and breathable underlayment to provide an extra layer of protection beneath the tiles. This underlayment should extend over the eaves and up the vertical surfaces to prevent water infiltration.
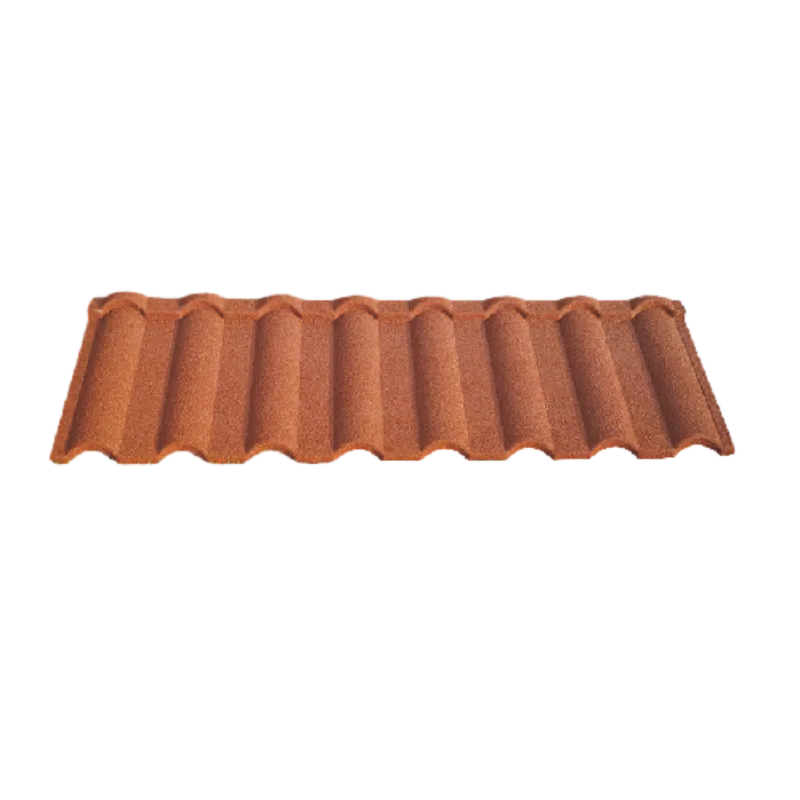
installing clay roof tiles
Installing the Clay Roof Tiles
1. Start at the Bottom Begin installing the tiles at the bottom edge of the roof, working your way up. This ensures that the upper tiles overlap the lower ones, promoting effective water drainage.
2. Alignment and Spacing Use a chalk line to establish straight rows. The tiles should be spaced evenly based on their width, allowing for expansion and contraction due to temperature variations.
3. Lay the Tiles Position the first tile on the batten at the bottom edge of the roof, ensuring it's secure. Use roofing nails or screws to fasten the tiles, depending on the manufacturer's recommendations. Continue laying the tiles in a staggered pattern moving upward.
4. Cutting Tiles You may need to cut some tiles to fit at the edges and ridges. Use a utility knife or a specialized tile cutter to ensure clean cuts that won’t compromise the integrity of the tiles.
5. Install Ridge Caps After installing all the field tiles, finish off the roof with ridge caps. These tiles are designed specifically for the ridge and should be installed to ensure a watertight seal.
Final Checks and Maintenance
Once all tiles are installed, conduct a thorough inspection to ensure every tile is secure and properly aligned. Check for any gaps that may need additional sealing, particularly at junctions with chimneys or vents.
Regular maintenance is essential to prolong the lifespan of clay roof tiles. Inspect your roof at least once a year, looking for cracked or broken tiles that need replacement. Clean out any debris and ensure that gutters and downspouts are functioning properly to prevent water pooling and damage.
Conclusion
Installing clay roof tiles can be a rewarding project that enhances the aesthetic and functional value of your home. With careful planning, proper materials, and attention to detail, you can create a beautiful and durable roof that stands the test of time. Whether you're a seasoned DIY enthusiast or a first-time installer, this guide provides the fundamental steps needed to successfully install clay roof tiles and enjoy their benefits for years to come.
Latest news
-
Roofing Shingles Cost Price, Weight & Granule Loss Guide
NewsMay.20,2025
-
Steel Tile Roofing Durable & Affordable Tile-Like Metal Roofing
NewsMay.20,2025
-
Installing Steel Roof Over Shingles Durable, Cost-Effective Solution
NewsMay.20,2025
-
Energy-Efficient Rooftop Cooling Sheets & Ceramic Tiles for Heat Reduction
NewsMay.19,2025
-
Average Cost to Replace Asphalt Shingles Per Sq Ft & Roof Estimates
NewsMay.19,2025
-
Mud Tiles for Roof Durable & Eco-Friendly Clay Roofing Solutions
NewsMay.19,2025


Copyright © 2025 Hebei Chida Manufacture and Trade Co., Ltd. All Rights Reserved. Sitemap | Privacy Policy