Oct . 11, 2024 09:32 Back to list
roof shingles installation
A Guide to Roof Shingles Installation
Installing roof shingles is a vital aspect of home maintenance that can significantly enhance the durability and appearance of your roof. Whether you’re a DIY enthusiast or hiring a professional, understanding the installation process is important to ensure a successful project. This guide outlines the key steps involved in roof shingles installation.
Materials Needed
Before you begin, gather all necessary materials. This includes your chosen shingles, underlayment (like felt paper), roofing nails, a hammer or nail gun, utility knife, chalk line, and safety gear such as gloves and goggles. Selecting quality materials will ensure a long-lasting roof that withstands the elements.
Preparation
Before installing shingles, prepare the roof surface. Make sure the roof deck is clean, dry, and free of debris. Repair any damage to the roof underlayment or decking to prevent future leaks. If your roof is particularly steep or high, you should consider using a harness and safety ropes during the installation to avoid accidents.
Underlayment Installation
After preparation, the next step is to lay the underlayment. Start at the bottom edge of the roof and roll out the underlayment horizontally. Overlap each row by about six inches to ensure proper water runoff. Use roofing nails to secure the underlayment, placing them at regular intervals to avoid any movement during subsequent shingle installation.
Shingle Installation
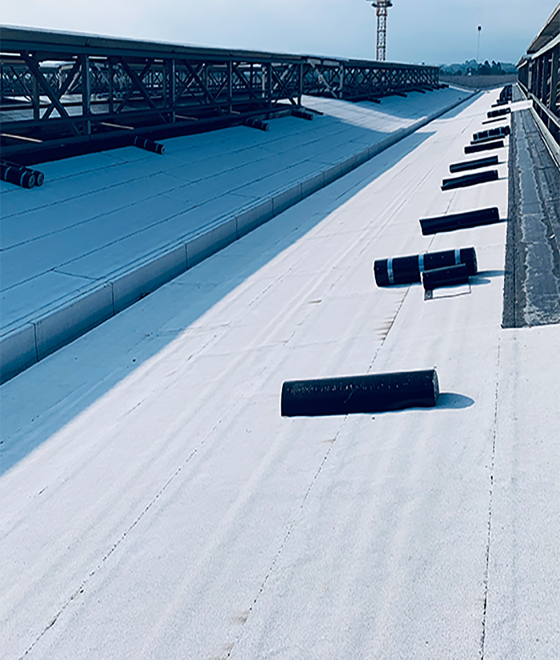
roof shingles installation

Once the underlayment is in place, you can begin installing the shingles. Start at the bottom edge of the roof, placing the first shingle in line with the eaves. Ensure the shingles are aligned straight and consistent. For asphalt shingles, stagger the seams by placing the next row of shingles a few inches offset from the first row. This creates a more robust structure and improves aesthetics.
Secure each shingle with roofing nails, following the manufacturer's recommendations for nail placement. Generally, four to six nails per shingle are sufficient but ensure that the nails are driven flush with the shingle surface, as overdriving can cause damage.
Ventilation and Flashing
Pay attention to ventilation and flashing during the installation process. Proper roof ventilation prevents moisture buildup and extends the life of your roofing materials. Install ridge vents along the peak of your roof, and ensure adequate airflow in the attic space.
When installing flashing around chimneys, vents, and valleys, make sure it is securely fastened and properly sealed with roofing cement to prevent leaks.
Final Inspection
After completing the installation, conduct a thorough inspection. Ensure that all shingles are in place, no nail heads are exposed, and there are no loose edges. Clean up any debris from the roof and surrounding area.
Conclusion
Installing roof shingles can seem daunting, but with careful planning and execution, it can be a manageable project. Thorough preparation, correct material selection, and following proper installation techniques will not only enhance your roof’s appearance but also its durability. Whether you choose to do it yourself or hire a professional, understanding the process will lead to a successful installation and a sturdy roof for many years to come.
-
Stone Coated Metal Roof Tile-Nosen Tile: Durable & Stylish Roofing
NewsJul.23,2025
-
Durable Tiles Made of Clay for Modern Cladding Solutions
NewsJul.22,2025
-
Stone Coated Roman Tile Metal Roofing - Durable & Elegant
NewsJul.22,2025
-
Premium Roofing Granules for Sale - High Durability & Cost-Saving
NewsJul.21,2025
-
Durable Laminated Shingles for Weather-Resistant Roofing
NewsJul.21,2025
-
Rubber Roofing Shingles - Durable & Weatherproof SBS Rubber Asphalt Shingles for Homes & Businesses
NewsJul.08,2025


