Dec . 03, 2024 22:46 Back to list
Guidelines for Installing Rolled Roofing Shingles Efficiently and Effectively
The Ultimate Guide to Rolled Shingles Installation
Rolled shingles, also known as rolled roofing, offer a cost-effective and efficient solution for covering low-sloped roofs. Whether you're a seasoned DIY enthusiast or a homeowner looking to save on labor costs, installing rolled shingles can be a manageable project with the right preparation and tools. This guide will walk you through the necessary steps and considerations for a successful rolled shingles installation.
Understanding Rolled Shingles
Rolled shingles are typically made of asphalt and come in large, continuous rolls. They are easy to handle and can cover a significant amount of surface area quickly. Rolled roofing is most commonly used on flat or low-pitched roofs such as sheds, garages, and mobile homes. The key benefits of using rolled shingles include their affordability, lightweight nature, and quick installation process.
Materials and Tools Needed
Before beginning your installation, gather the following materials and tools
- Rolled shingles (ensure you have enough to cover the roof area) - Roofing nails (1-inch) - Roofing cement or adhesive - Roofing underlayment (optional for extra protection) - Utility knife or roofing cutter - Measuring tape - Chalk line - Hammer - Ladder - Safety gear (gloves, goggles, etc.)
Preparation Steps
1. Measure the Roof Area Begin by measuring the length and width of your roof to calculate how many rolls of shingles you will need. It’s advisable to purchase an extra roll to accommodate mistakes or future repairs.
2. Clear the Roof Surface Remove any existing roofing materials, debris, or contaminants from the roof surface. Ensure the area is clean and dry for optimal adhesion.
3. Install Underlayment Although optional, installing roofing underlayment provides an additional layer of protection against moisture. Start at the bottom edge of the roof, rolling out the underlayment horizontally. Overlap each row by a few inches and secure with nails or adhesive.
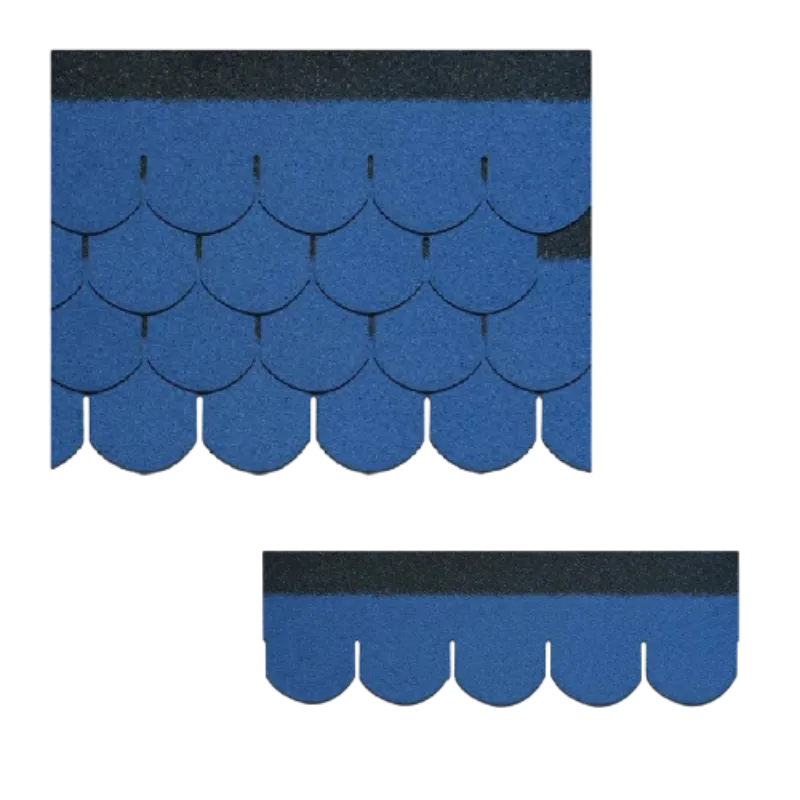
rolled shingles installation

Installation Process
1. Start at the Bottom Position your first roll of rolled shingles at the lower edge of the roof. Allow for an overhang of approximately 1-2 inches to direct water away from the roof edges.
2. Unroll and Cut Carefully unroll the shingles, ensuring they lay flat against the roof surface. If your roof is particularly wide, you may need to cut the roll to fit. Use a utility knife for clean cuts.
3. Nail Down the Shingles Secure the rolled shingles using roofing nails, placing them about 12 inches apart along the top edge of the roll. Be cautious not to drive nails too deep, as this could damage the shingles.
4. Seal the Edges Apply roofing cement under the bottom edge of the rolled shingles and the side edges where each roll meets. This helps prevent water infiltration and ensures a watertight seal.
5. Continue the Process Repeat the process for subsequent rolls, ensuring you stagger the seams of each roll for better water runoff. Overlap each roll by about 4 inches to create an effective barrier against leaks.
6. Finish at the Top When you reach the peak of the roof, cut the last roll to fit snugly against the ridge. You may choose to install ridge cap shingles for added protection and an aesthetically pleasing finish.
Maintenance and Care
Once installed, regular maintenance of your rolled roof is essential to ensure longevity. Inspect the roof periodically for any signs of damage, such as tears or lifting edges. Keep the roof clean of debris, as accumulated leaves or branches can retain moisture and lead to deterioration. If damage occurs, promptly make repairs, using roofing cement or patches to seal leaks.
Conclusion
Installing rolled shingles can be a straightforward project that adds value and protection to your home. By following the steps outlined in this guide, homeowners can achieve a durable, weather-resistant roof on low-slope structures. As with any DIY project, take your time, work carefully, and prioritize safety, and you’ll be rewarded with a successful installation that will protect your property for years to come.
-
Durable Tiles Made of Clay for Modern Cladding Solutions
NewsJul.22,2025
-
Stone Coated Roman Tile Metal Roofing - Durable & Elegant
NewsJul.22,2025
-
Premium Roofing Granules for Sale - High Durability & Cost-Saving
NewsJul.21,2025
-
Durable Laminated Shingles for Weather-Resistant Roofing
NewsJul.21,2025
-
Rubber Roofing Shingles - Durable & Weatherproof SBS Rubber Asphalt Shingles for Homes & Businesses
NewsJul.08,2025
-
Crest Double Roman Roof Tiles – Durable, Stylish Roofing Solution at Competitive Prices
NewsJul.08,2025


