Nov . 25, 2024 09:52 Back to list
Guide to Installing Laminate Shingles for Your Roof Project
Installing Laminate Shingles A Comprehensive Guide
Laminate shingles have gained popularity in the roofing industry due to their durability, aesthetic appeal, and cost-effectiveness. If you're considering installing laminate shingles on your roof, it is essential to understand the steps involved to ensure a successful project. This guide will walk you through the process, providing valuable insights along the way.
Materials and Tools Needed
Before commencing installation, gather all necessary materials and tools. You'll need laminate shingles, underlayment, roofing nails, a hammer or nail gun, a utility knife, a tape measure, and safety gear like gloves and goggles. Additionally, having a ladder, chalk line, and a roofing shovel can expedite the installation process.
Preparation
Begin by preparing your roof surface. Clear it of any debris, and inspect for damage. If there are old shingles, it may be worthwhile to remove them for a cleaner installation. Once the surface is ready, lay down a proper underlayment. This acts as a moisture barrier and helps to protect against leaks. Ensure that the underlayment overlaps adequately, starting from the bottom of the roof and moving upwards.
Installing the Laminate Shingles
1. Starter Course Start with a starter course at the eaves of the roof. This is crucial as it sets the stage for the following rows. Cut the first shingle to expose the adhesive strip and secure it in place with nails.
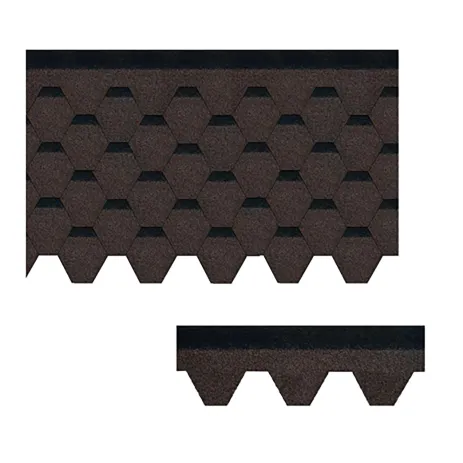
installing laminate shingles

2. First Row Once the starter course is laid, install the first row of laminate shingles. Be sure to stagger the seams between shingles; this enhances strength and water resistance. Each shingle should be secured with at least four nails, following the manufacturer's guidelines.
3. Subsequent Rows Continue with successive rows, applying shingles in the same manner. Use a chalk line to maintain straight rows, and remember to stagger the joints properly, usually by offsetting the shingles by half a tab.
4. Ridge Caps When you reach the peak of the roof, install ridge caps. These shingles not only provide a finished look but also protect against water entry at the roof's highest point. Cut the laminate shingles to fit securely over the ridge, ensuring each cap is fastened properly.
Finishing Touches
After installing all the shingles, inspect your work carefully. Check for any missing nails, improper alignments, or inadequate overlaps. It’s essential to ensure that your roof is watertight and visually appealing.
Conclusion
Installing laminate shingles can be a rewarding project and significantly enhance your home's exterior. While it may require patience and attention to detail, the process is manageable with the right tools and materials. By following this guide, you can achieve a professional-looking roof that provides long-lasting protection and beauty. Remember, if at any point the task feels overwhelming, don't hesitate to seek help from professional roofers. Happy roofing!
-
Stone Coated Roman Tile Metal Roofing - Durable & Elegant
NewsJul.22,2025
-
Premium Roofing Granules for Sale - High Durability & Cost-Saving
NewsJul.21,2025
-
Durable Laminated Shingles for Weather-Resistant Roofing
NewsJul.21,2025
-
Rubber Roofing Shingles - Durable & Weatherproof SBS Rubber Asphalt Shingles for Homes & Businesses
NewsJul.08,2025
-
Crest Double Roman Roof Tiles – Durable, Stylish Roofing Solution at Competitive Prices
NewsJul.08,2025
-
T Lock Asphalt Shingles Durable Roofing Solution for Long-lasting Protection
NewsJul.08,2025


