Nov . 18, 2024 16:26 Back to list
Installing Asphalt Shingles for a Durable Shed Roof Solution
Installing Asphalt Shingles on a Shed Roof A Step-by-Step Guide
Asphalt shingles are one of the most popular roofing materials due to their affordability, durability, and ease of installation. If you are planning to enhance your shed with a new roof, installing asphalt shingles is a viable option. This guide will walk you through the process of installing asphalt shingles on a shed roof, ensuring a weather-resistant and long-lasting finish.
Materials Needed
Before starting your project, gather the following materials
1. Asphalt Shingles - Choose the style and color that suits your shed. 2. Underlayment - This is a water-resistant material that provides an extra layer of protection. 3. Roofing Nails - Specialized nails designed to hold shingles in place. 4. Roofing Cement - For sealing and waterproofing. 5. Drip Edge - Prevents water from seeping under the roof. 6. Utility Knife and Straightedge - For cutting shingles. 7. Hammer or Roofing Nailer - For fastening shingles. 8. Ladder and Safety Gear - To ensure safety during installation.
Step 1 Preparing the Roof
Before beginning the installation, prepare the roof surface. Remove any old shingles and thoroughly clean the decking to eliminate any debris, dirt, or mildew. Inspect the decking for any damage; if you find any rotting or weak spots, replace them before proceeding.
Step 2 Install the Drip Edge
Begin by installing the drip edge along the eaves of the roof. This will direct water away from the edges of the shed, helping to prevent leaks. Nail it down securely, ensuring that it extends slightly over the edge to allow water to flow away easily.
Step 3 Lay Down Underlayment
Next, roll out the underlayment to cover the entire roof surface. Start at the eaves and work upwards, overlapping each row by at least 4 inches. This extra layer serves as a barrier against moisture, protecting the structure of your shed. Use roofing nails to secure it in place, being careful not to leave any gaps.
Step 4 Start Installing Shingles
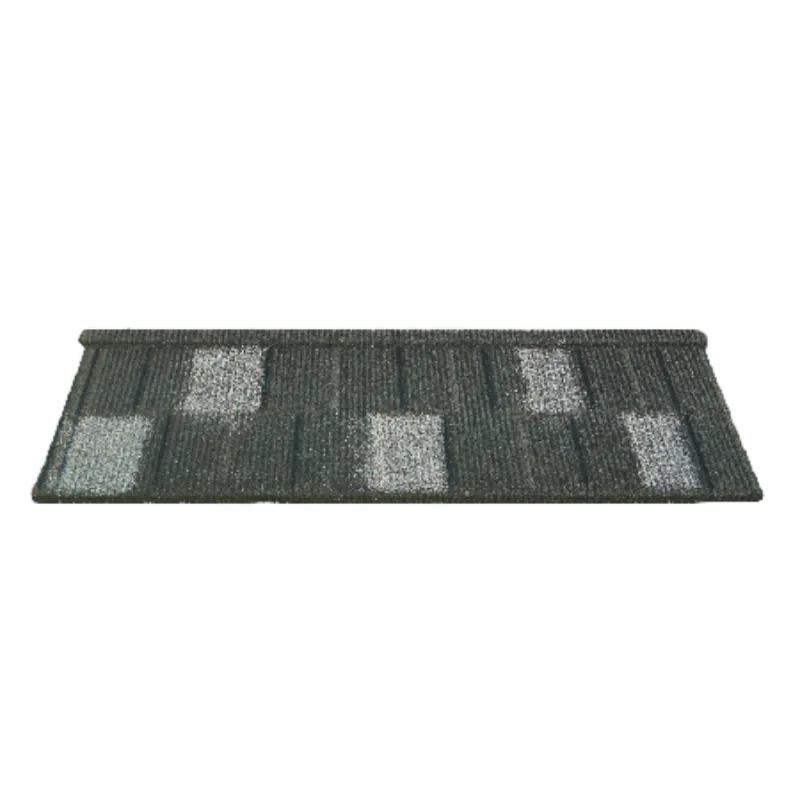
installing asphalt shingles on a shed roof

Once the underlayment is in place, you can start installation of the asphalt shingles. Begin at the bottom edge of the roof, working your way up. Place the first shingle with its lower edge aligned with the drip edge, leaving a slight overhang.
Secure the shingle with roofing nails. It’s essential to follow the manufacturer’s guidelines for nailing; typically, four nails per shingle are recommended. Be sure to place nails just above the adhesive strip to avoid leaks.
Step 5 Stagger the Shingles
To create a more appealing and effective roof, stagger the shingles in each row. This means that the joints of the shingles in one row do not align with those in the row above. This staggered pattern enhances strength and durability, reducing the chances of water penetration.
Step 6 Finishing Up
Continue laying shingles row by row until you reach the peak of the roof. For the final row, you may need to cut shingles to fit. A utility knife and straightedge will help you achieve clean cuts. Once you’ve completed all rows, seal any cut edges with roofing cement to provide extra protection against moisture.
Step 7 Install Ridge Cap Shingles
After installing the shingles, don’t forget to add ridge cap shingles along the peak of your roof. These shingles cover the exposed peak and add both a finished appearance and extra protection against the elements. Nail them down securely in place.
Final Tips
- Conduct regular inspections of your shed roof after installation, especially after storms, to ensure that everything remains in good condition. - Remember that safety first! Always use a sturdy ladder, and when working on steep roofs, consider additional safety harnesses or equipment. - Take your time during the installation process; rushing can lead to mistakes or a less-than-perfect finish.
With patience and attention to detail, installing asphalt shingles on your shed roof can be a rewarding DIY project. Not only will your shed look great, but it will also be well-protected against the elements. Happy roofing!
-
Durable Tiles Made of Clay for Modern Cladding Solutions
NewsJul.22,2025
-
Stone Coated Roman Tile Metal Roofing - Durable & Elegant
NewsJul.22,2025
-
Premium Roofing Granules for Sale - High Durability & Cost-Saving
NewsJul.21,2025
-
Durable Laminated Shingles for Weather-Resistant Roofing
NewsJul.21,2025
-
Rubber Roofing Shingles - Durable & Weatherproof SBS Rubber Asphalt Shingles for Homes & Businesses
NewsJul.08,2025
-
Crest Double Roman Roof Tiles – Durable, Stylish Roofing Solution at Competitive Prices
NewsJul.08,2025


