Nov . 21, 2024 22:44 Back to list
installing asphalt shingles on a shed
Installing Asphalt Shingles on a Shed A Step-by-Step Guide
Asphalt shingles are a popular roofing material, known for their durability, affordability, and ease of installation. If you’re looking to improve the aesthetic appeal and weather resistance of your shed, installing asphalt shingles can be a great choice. This guide will walk you through the steps involved in installing asphalt shingles on your shed, ensuring a successful DIY project.
Materials Needed
Before starting, gather the necessary materials and tools
1. Asphalt shingles 2. Roofing felt (underlayment) 3. Roofing nails 4. A hammer or nail gun 5. A utility knife 6. A measuring tape 7. A ladder 8. Roofing cement (optional for added waterproofing)
Step 1 Preparation
Start by preparing the shed for roofing. Ensure the existing roof (if any) is in good condition. Remove any old roofing materials, such as old shingles or debris. Inspect the roof sheathing for any signs of damage, such as rot or mold. Replace any damaged boards, and ensure the surface is clean and dry.
Step 2 Install the Underlayment
Once the roof deck is ready, roll out the roofing felt, starting from the bottom edge of the roof to the top. Overlap each row by several inches to ensure proper water runoff. Secure the felt in place with roofing nails, placing them about every two feet along the edges. The underlayment acts as a moisture barrier, protecting your shed from leaks.
Step 3 Start Laying the Shingles
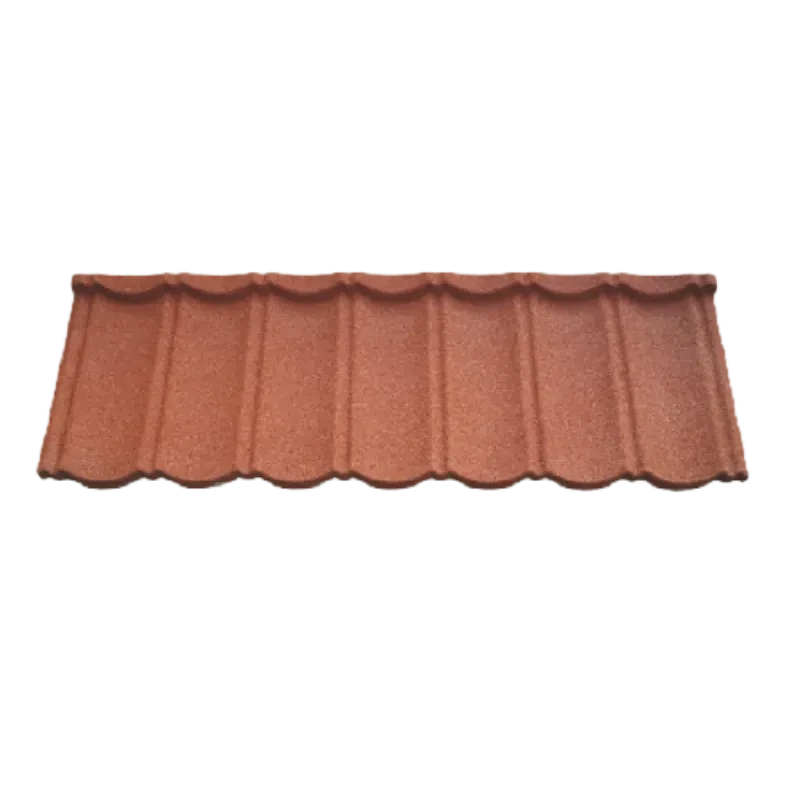
installing asphalt shingles on a shed

With the underlayment installed, it’s time to begin laying the asphalt shingles. Start at the bottom edge of the roof, where the first row of shingles will go. Place the shingles side by side, ensuring that they overhang the edge of the roof by about an inch. Use a utility knife to cut the shingles if needed.
Secure each shingle with roofing nails. A common practice is to drive four nails into each shingle, two at the top and two at the bottom. Make sure the nails are placed just above the adhesive strip to prevent water from seeping into the holes.
Step 4 Stagger the Shingles
As you move up the roof, it’s important to stagger the shingles. This means that the joints of the shingles in each row should not line up with the row below. Staggering helps to create a stronger roof and reduces the likelihood of leaks. To accomplish this, cut the first shingle of the second row in half, and use it as the first shingle in that row.
Step 5 Install Ridge Cap Shingles
Once you reach the peak of the roof, install ridge cap shingles. These specialized shingles are designed to cover and protect the ridge from water intrusion. Place the ridge cap shingles at the peak, overlapping each piece appropriately. Use roofing cement if needed to secure them firmly in place.
Step 6 Final Touches and Inspection
After all the shingles are installed, inspect your work. Check for any loose shingles or improperly secured edges. Make any necessary adjustments to ensure everything is secure and watertight. If you notice any gaps or vulnerable spots, apply roofing cement as an extra layer of protection.
Conclusion
Installing asphalt shingles on your shed is a manageable DIY project that can enhance both its appearance and functionality. With a little patience and attention to detail, you can achieve a durable roof that will withstand the elements for years to come. Remember to prioritize safety use a sturdy ladder, wear appropriate footwear, and take your time during the installation process. With the right materials and careful execution, your shed will be well-protected with its new asphalt shingles. Happy roofing!
-
Stone Coated Metal Roof Tile-Nosen Tile: Durable & Stylish Roofing
NewsJul.23,2025
-
Durable Tiles Made of Clay for Modern Cladding Solutions
NewsJul.22,2025
-
Stone Coated Roman Tile Metal Roofing - Durable & Elegant
NewsJul.22,2025
-
Premium Roofing Granules for Sale - High Durability & Cost-Saving
NewsJul.21,2025
-
Durable Laminated Shingles for Weather-Resistant Roofing
NewsJul.21,2025
-
Rubber Roofing Shingles - Durable & Weatherproof SBS Rubber Asphalt Shingles for Homes & Businesses
NewsJul.08,2025


