Nov . 25, 2024 19:45 Back to list
Guide to Installing Asphalt Roof Shingles for Optimal Performance and Durability
Asphalt Roof Shingles Installation A Comprehensive Guide
Asphalt roof shingles are among the most popular roofing materials in North America, primarily because of their durability, affordability, and versatility. Installing asphalt shingles may seem daunting, but with the right tools and instructions, it can be a manageable DIY project. This guide will provide you with the essential steps for a successful installation.
Tools and Materials Needed
Before you begin the installation, it’s crucial to gather all necessary tools and materials. You will need
- Asphalt shingles - Roofing felt (underlayment) - Ice and water shield (for colder climates) - Roofing nails (preferably galvanized) - Roofing hammer or nail gun - Utility knife - Chalk line - Ladder - Safety gear (gloves, goggles, etc.)
Step-by-Step Installation
1. Prepare the Roof Deck Start by cleaning the roof surface of any debris. Ensure the decking is in good condition; replace any damaged boards. If you live in an area prone to ice dams, consider applying a waterproof barrier at the roof's eaves.
2. Install Underlayment Lay down the roofing felt over the entire roof surface, overlapping the edges, and securing it with nails. This acts as a moisture barrier, providing an additional layer of protection.
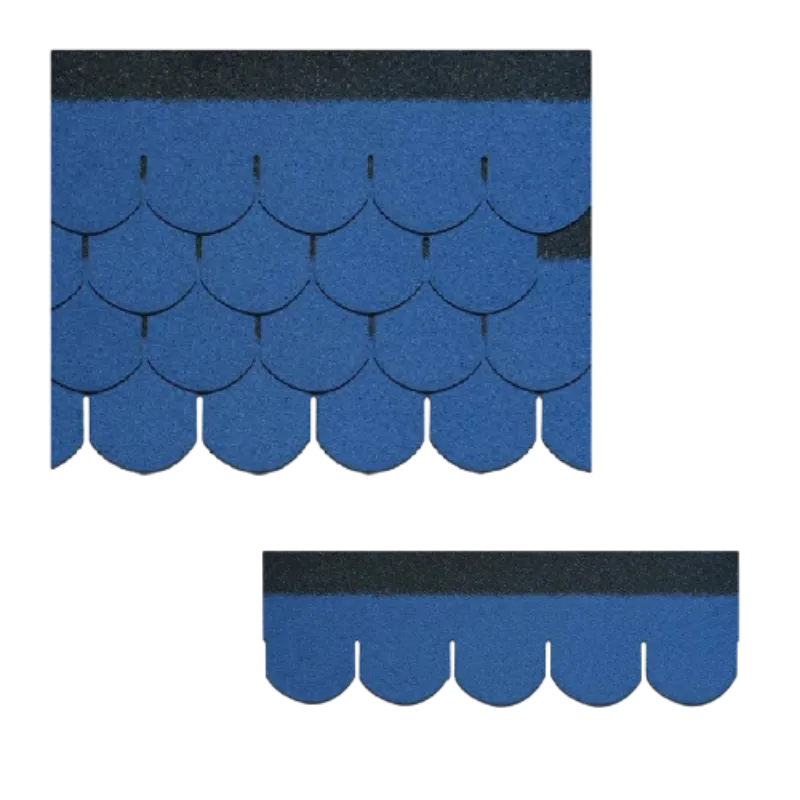
asphalt roof shingles installation

3. Install Ice and Water Shield In regions with heavy snowfall or ice, place an ice and water shield along the eaves and any valleys. This material prevents leaks caused by melting ice.
4. Line Up the First Course Start at the bottom edge of the roof. To ensure a straight line, snap a chalk line across the roof's entire width. Begin installing the first course of shingles, ensuring they hang over the edge by about an inch. Nail these shingles in place.
5. Continue Shingling For the second course, stagger the seams by starting with half a shingle to enhance water runoff and reduce leaks. Continue this process for each consecutive row, ensuring to maintain uniform overlaps.
6. Cut Shingles as Needed At the ends of the roof, you may need to trim shingles to fit. Use a utility knife for clean cuts, being careful not to damage underlying materials.
7. Install Ridge Cap Shingles Once you reach the peak of the roof, install ridge cap shingles. These are specially designed to cover the peak, providing an aesthetically pleasing finish and additional protection against the elements.
8. Final Inspection After installing all shingles, conduct a final inspection. Ensure all nails are securely driven in and that there are no exposed edges on the shingles. Properly dispose of any waste materials from the installation.
Conclusion
Installing asphalt shingles can significantly enhance your home’s appearance and increase its value. While it requires careful planning and execution, following these steps ensures a successful installation. Remember, if you’re unsure at any step, don’t hesitate to consult with a professional roofing contractor. Safety should always be your top priority, so wear appropriate gear and consider hiring help if the project feels too overwhelming. With the right preparation and attitude, you can achieve a durable and attractive roof that will last for years to come.
-
Rubber Roofing Shingles - Durable & Weatherproof SBS Rubber Asphalt Shingles for Homes & Businesses
NewsJul.08,2025
-
Crest Double Roman Roof Tiles – Durable, Stylish Roofing Solution at Competitive Prices
NewsJul.08,2025
-
T Lock Asphalt Shingles Durable Roofing Solution for Long-lasting Protection
NewsJul.08,2025
-
Top Stone Coated Metal Roofing Suppliers & Manufacturers Durable Stone Coated Metal Tile Solutions
NewsJul.07,2025
-
How Many Bundles of Asphalt Shingles in a Square? Fast Roofing Guide & Tips
NewsJul.07,2025
-
How Long Should a Cedar Shake Roof Last? Expert Guide & Replacement Options
NewsJul.06,2025


