12-р сар . 11, 2024 09:07 Back to list
Guide to Proper Installation of Rolled Roofing Shingles for Optimal Performance
The Ultimate Guide to Rolled Shingles Installation
When it comes to roofing options, rolled shingles have gained popularity due to their cost-effectiveness and ease of installation. Ideal for low-slope roofs, rolled shingles are made from asphalt and come in large rolls, making them a practical choice for both residential and commercial buildings. In this article, we will provide a comprehensive guide on how to install rolled shingles effectively, ensuring longevity and durability for your roofing project.
Preparation
Before you start the installation process, it’s essential to prepare your tools and materials. You will need
- Rolled shingles - Roofing nails - Utility knife - Measuring tape - Hammer or nail gun - Roofing cement - Safety goggles and gloves
Make sure to inspect the roof for any damage or rot. Repair any issues and ensure the surface is clean and dry. This preparation is vital to prevent future leaks or damage.
Step 1 Measure and Cut
Begin by measuring the length and width of the roof to determine how many rolls of shingles you’ll need. It’s always a good idea to purchase a little extra to account for mistakes or future repairs. Once you have your shingles, unroll a length of the material and cut it to fit the dimensions of the area you're covering. Remember to account for overlap between strips, typically 2 to 4 inches.
Step 2 Lay the First Strip
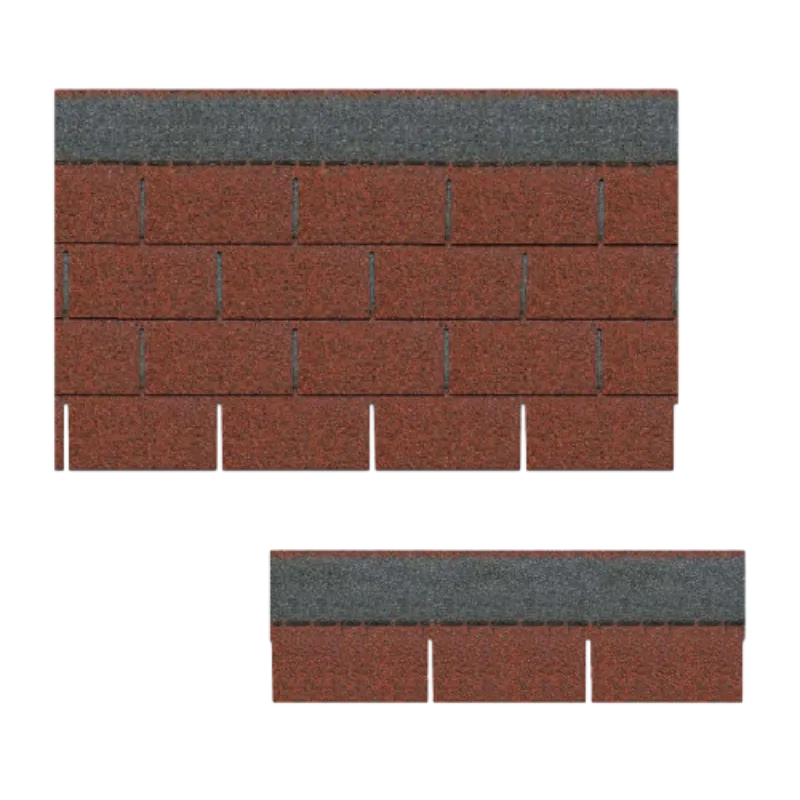
rolled shingles installation

Start at the lowest point of the roof and work your way up. Lay the first strip of rolled shingles, ensuring it is aligned correctly. The edge of the roll should extend slightly beyond the edge of the roof to allow for water runoff. Use roofing nails to secure the strip, placing them around every 12 inches along the top edge, and ensure you nail down the sides as well.
Step 3 Overlapping
When laying subsequent rolls, make sure to overlap the seams by at least 2 inches. This overlap is crucial for preventing water from seeping through the joints. Nail down the second strip in the same manner as the first, and continue this process until you reach the top of the roof.
Step 4 Cutting Around Obstacles
If your roof has any chimneys, vents, or other protrusions, you will need to carefully cut the rolled shingles to fit around them. Measure the dimensions of the obstacle and cut the shingles accordingly. It’s important to seal the edges with roofing cement to ensure that no water can penetrate these seams.
Step 5 Finalize the Installation
Once all the strips are laid and secured, inspect the roof for any unsecured areas or improperly placed strips. Use roofing cement to seal any gaps or overlaps. Make sure to apply additional cement around the edges and any areas that may be prone to leaks, like where the shingles meet the flashing.
Conclusion
Installing rolled shingles can be a straightforward process if done correctly. By following these steps, you can achieve a durable roof that will protect your home from the elements. However, always remember that safety comes first. Wear appropriate safety gear, and if you feel unsure about your ability to install the shingles, don’t hesitate to hire professional help. A well-installed roof not only enhances the aesthetic appeal of your home but also adds significant value and security for years to come.
-
Rubber Roofing Shingles - Durable & Weatherproof SBS Rubber Asphalt Shingles for Homes & Businesses
NewsJul.08,2025
-
Crest Double Roman Roof Tiles – Durable, Stylish Roofing Solution at Competitive Prices
NewsJul.08,2025
-
T Lock Asphalt Shingles Durable Roofing Solution for Long-lasting Protection
NewsJul.08,2025
-
Top Stone Coated Metal Roofing Suppliers & Manufacturers Durable Stone Coated Metal Tile Solutions
NewsJul.07,2025
-
How Many Bundles of Asphalt Shingles in a Square? Fast Roofing Guide & Tips
NewsJul.07,2025
-
How Long Should a Cedar Shake Roof Last? Expert Guide & Replacement Options
NewsJul.06,2025


