
coolroof@cnchida.com
+86 13803333363
 Afrikaans
 Albanian
 Amharic
 Arabic
 Armenian
 Azerbaijani
 Basque
 Belarusian
 Bengali
 Bosnian
 Bulgarian
 Catalan
 Cebuano
 Corsican
 Croatian
 Czech
Czech
 Danish
 Dutch
Dutch
 English
 Esperanto
 Estonian
 Finnish
 French
 Frisian
 Galician
 Georgian
 German
 Greek
Greek
 Gujarati
 Haitian Creole
 hausa
hausa
 hawaiian
 Hebrew
 Hindi
Hindi
 Miao
Miao
 Hungarian
 Icelandic
 igbo
igbo
 Indonesian
 irish
irish
 Italian
 Japanese
 Javanese
 Kannada
 kazakh
 Khmer
Khmer
 Rwandese
 Korean
 Kurdish
 Kyrgyz
 Lao
Lao
 Latin
Latin
 Latvian
 Lithuanian
 Luxembourgish
 Macedonian
 Malgashi
 Malay
Malay
 Malayalam
 Maltese
 Maori
Maori
 Marathi
 Mongolian
 Myanmar
 Nepali
 Norwegian
 Norwegian
 Occitan
 Pashto
 Persian
 Polish
 Portuguese
 Punjabi
 Romanian
 Russian
 Samoan
 Scottish Gaelic
 Serbian
 Sesotho
 Shona
Shona
 Sindhi
 Sinhala
 Slovak
 Slovenian
 Somali
 Spanish
 Sundanese
 Swahili
 Swedish
 Tagalog
 Tajik
Tajik
 Tamil
Tamil
 Tatar
Tatar
 Telugu
 Thai
Thai
 Turkish
 Turkmen
 Ukrainian
 Urdu
Urdu
 Uighur
 Uzbek
Uzbek
 Vietnamese
 Welsh
Welsh
 Bantu
Bantu
 Yiddish
 Yoruba
 Zulu
Zulu
Ное . 07, 2024 06:21 Back to list
metal tile roof installation
Metal Tile Roof Installation An Overview
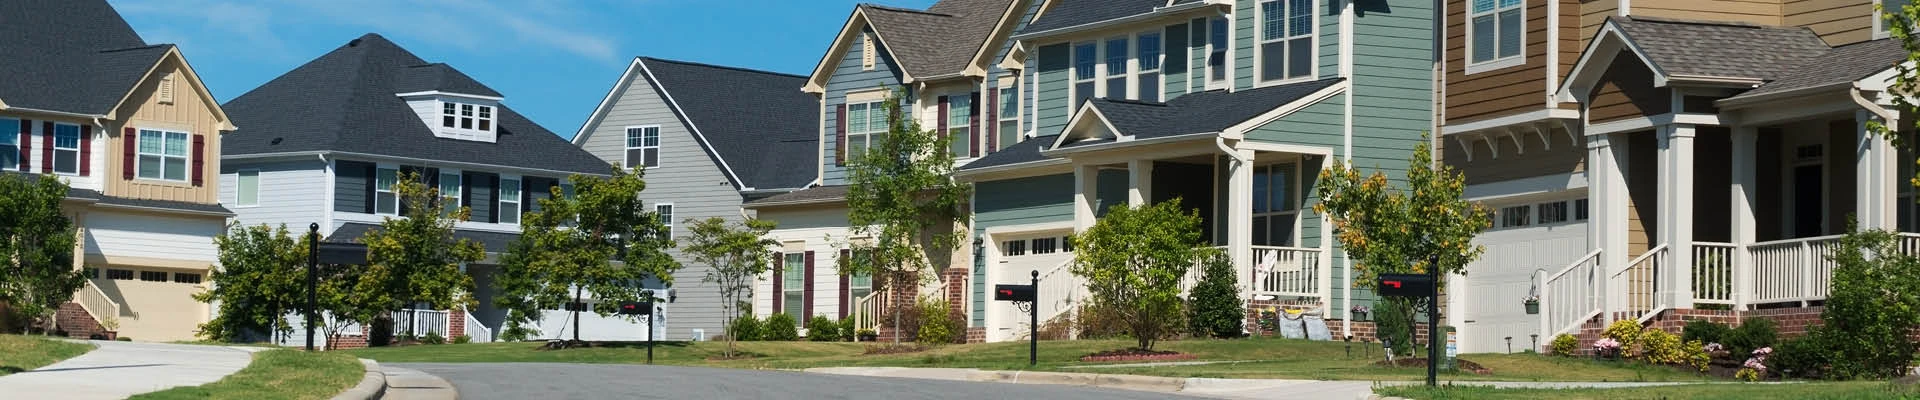
Metal tile roofs have gained popularity in recent years for their durability, energy efficiency, and aesthetic appeal. This roofing option combines the classic appearance of traditional tiles with the modern benefits of metal, making it an excellent choice for various architectural styles. If you're considering a metal tile roof for your home or building, understanding the installation process is crucial for ensuring a successful project.
Planning and Preparation
Before commencing the installation of a metal tile roof, thorough planning is essential. Begin by assessing the current condition of the roof. If you’re replacing an existing roof, it’s vital to inspect for any damage or decay in the underlying structure. It’s also important to verify local building codes and regulations to ensure compliance with any legal requirements.
Choose high-quality materials that suit your climate and aesthetic preferences. Metal tiles come in a variety of styles, colors, and finishes, so engage with a reputable supplier to find the best options for your needs.
Gather Necessary Tools and Materials
For the installation process, you will need various tools and materials, including
- Metal tiles - Underlayment (typically a high-quality, water-resistant membrane) - Edging and flashing materials - Fasteners (screws or nails specifically designed for metal roofing) - Safety gear (gloves, goggles, and harnesses) - Basic tools (screwdriver, hammer, measuring tape, level)
Having everything ready before starting the installation will streamline the process and reduce unnecessary delays.
metal tile roof installation
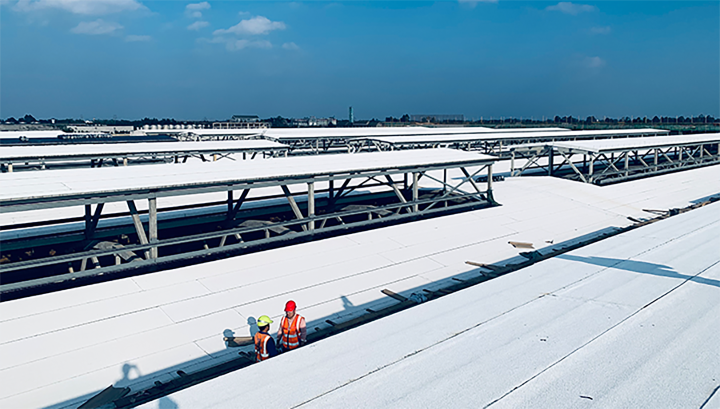
Installation Steps
1. Remove the Old Roof If you are replacing an existing roof, start by removing all old shingles or tiles. Take care to check and repair the underlying structure, ensuring it is sound and ready to support the new roofing material.
2. Install the Underlayment Lay down a waterproof underlayment over the entire roof deck. This layer adds extra protection against moisture and is particularly important in areas prone to heavy rainfall or snow.
3. Install the Metal Tiles Begin at the lowest point of the roof and work your way upward. Align the first row of metal tiles and secure them using the recommended fasteners. Ensure that each tile overlaps the one below it to prevent water infiltration.
Continue this process, making sure to stagger the seams between rows for additional water resistance. Adjust the tiles as needed to fit around roof features like chimneys or vents, using flashing to ensure these areas are watertight.
4. Finish with Edging and Flashing Once the tiles are installed, apply metal edging along the roof perimeter for protection against the elements. Install flashing around any roof penetrations (like chimneys, skylights, or vents) to create a seamless waterproof barrier.
5. Final Inspection After completing the installation, conduct a thorough inspection of the roof to check for any loose tiles or potential weak spots. Address any issues immediately to ensure a durable and long-lasting roofing solution.
Conclusion
Installing a metal tile roof can enhance the protection and aesthetic appeal of your home. While the process requires careful planning and execution, the outcome is a stunning, low-maintenance roofing system that can withstand the test of time. If you feel uncertain about undertaking this project yourself, it’s wise to consult with a professional roofing contractor to ensure proper installation and maximize the benefits of your investment.
Latest news
-
Energy-Efficient Rooftop Cooling Sheets & Ceramic Tiles for Heat Reduction
NewsMay.19,2025
-
Average Cost to Replace Asphalt Shingles Per Sq Ft & Roof Estimates
NewsMay.19,2025
-
Mud Tiles for Roof Durable & Eco-Friendly Clay Roofing Solutions
NewsMay.19,2025
-
Dimensional Fiberglass Shingles Durable 3D Roofing for Style & Longevity
NewsMay.18,2025
-
Average Asphalt Shingle Roof Cost 2023 Replacement & Sq Ft Pricing
NewsMay.18,2025
-
New Roof Shingles Losing Granules? Durable Solutions & Prevention Tips
NewsMay.17,2025


Copyright © 2025 Hebei Chida Manufacture and Trade Co., Ltd. All Rights Reserved. Sitemap | Privacy Policy