
coolroof@cnchida.com
+86 13803333363
 Afrikaans
 Albanian
 Amharic
 Arabic
 Armenian
 Azerbaijani
 Basque
 Belarusian
 Bengali
 Bosnian
 Bulgarian
 Catalan
 Cebuano
 Corsican
 Croatian
 Czech
Czech
 Danish
 Dutch
Dutch
 English
 Esperanto
 Estonian
 Finnish
 French
 Frisian
 Galician
 Georgian
 German
 Greek
Greek
 Gujarati
 Haitian Creole
 hausa
hausa
 hawaiian
 Hebrew
 Hindi
Hindi
 Miao
Miao
 Hungarian
 Icelandic
 igbo
igbo
 Indonesian
 irish
irish
 Italian
 Japanese
 Javanese
 Kannada
 kazakh
 Khmer
Khmer
 Rwandese
 Korean
 Kurdish
 Kyrgyz
 Lao
Lao
 Latin
Latin
 Latvian
 Lithuanian
 Luxembourgish
 Macedonian
 Malgashi
 Malay
Malay
 Malayalam
 Maltese
 Maori
Maori
 Marathi
 Mongolian
 Myanmar
 Nepali
 Norwegian
 Norwegian
 Occitan
 Pashto
 Persian
 Polish
 Portuguese
 Punjabi
 Romanian
 Russian
 Samoan
 Scottish Gaelic
 Serbian
 Sesotho
 Shona
Shona
 Sindhi
 Sinhala
 Slovak
 Slovenian
 Somali
 Spanish
 Sundanese
 Swahili
 Swedish
 Tagalog
 Tajik
Tajik
 Tamil
Tamil
 Tatar
Tatar
 Telugu
 Thai
Thai
 Turkish
 Turkmen
 Ukrainian
 Urdu
Urdu
 Uighur
 Uzbek
Uzbek
 Vietnamese
 Welsh
Welsh
 Bantu
Bantu
 Yiddish
 Yoruba
 Zulu
Zulu
ធ្នូ . 26, 2024 08:19 Back to list
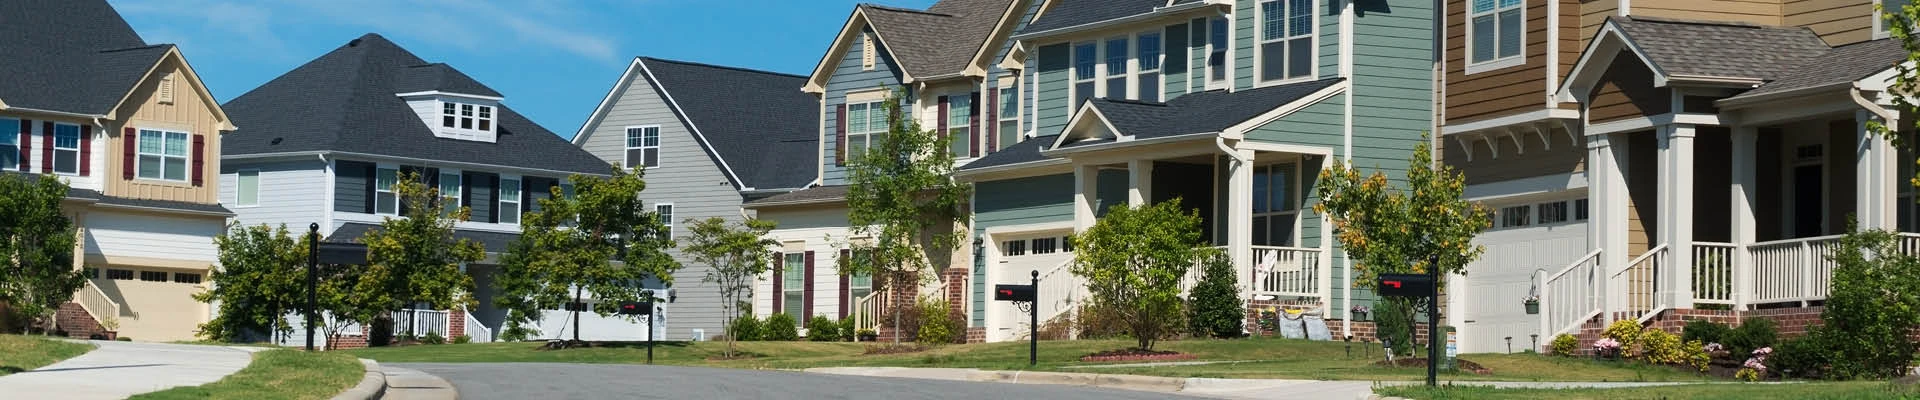
Installing a Roof Using Three Tab Shingles for Durable Coverage
Shingling a Roof with 3-Tab Shingles
Roofs are a critical component of any building, providing essential protection from the elements. Whether you’re constructing a new home or repairing an existing roof, choosing the right roofing material is essential. One popular option is 3-tab shingles, known for their cost-effectiveness, durability, and aesthetic appeal. In this article, we will explore how to shingle a roof using 3-tab shingles, covering the essential steps involved in the process.
Understanding 3-Tab Shingles
3-tab shingles are made from asphalt and have a distinctive shape that features three cutouts or “tabs.” This design not only gives the shingles a traditional appearance but also allows for easy installation. Generally, these shingles are relatively lightweight, making them manageable for DIY enthusiasts or professional roofers alike. They typically have a lifespan of 20 to 30 years, depending on factors such as climate, installation, and maintenance.
Tools and Materials Needed
Before beginning the shingling process, gather all necessary tools and materials. Here’s a list of what you’ll need
- 3-tab asphalt shingles - Roofing nails (1-inch or 1.25-inch) - A hammer or nail gun - A utility knife - A measuring tape - A chalk line - A ladder - Safety gear (gloves, goggles)
Preparing the Roof
1. Inspection Before starting, inspect the roof deck for any damage or rotting materials. Replace any faulty boards to ensure a solid foundation for the shingles.
2. Cleaning Remove any old roofing material, such as shingles or debris. Ensure the surface is clear and dry for optimal adhesion.
shingling a roof with 3 tab shingles
3. Underlayment Install a layer of roofing felt or underlayment. This waterproof barrier will protect the roof deck from moisture and can help prolong the life of your shingles. Start at the bottom edge of the roof and work your way up, overlapping each row by at least 6 inches.
Laying the 3-Tab Shingles
1. First Row Begin your first row at the eaves of the roof. Place the first shingle with the tabs facing downward, ensuring it overhangs the edge of the roof by about 1/4 inch. Secure the shingle in place using roofing nails, placing at least four nails per shingle—two on each side of the tabs and two in the lower section of the shingle.
2. Subsequent Rows For the next rows, stagger the shingles. This means that the tabs of the shingles in the second row should be positioned in the middle of the tabs below them. This staggering helps reduce the risk of leaks by preventing water from finding a direct path under the shingles.
3. Nailing Method As you install the shingles, ensure that each shingle is adequately nailed down. Nail placement is crucial; avoid placing nails too high (which could expose them to water) or too low (which may compromise the shingle’s structural integrity).
4. Ridge Cap Once you reach the top of the roof, you will need to install ridge cap shingles. These are specially designed shingles that provide a finished look and additional weather protection at the peak of the roof. Cut the 3-tab shingles in half to create ridge caps and install them along the ridge, overlapping each piece appropriately.
Final Inspection
After completing the shingling process, conduct a final inspection. Ensure that all shingles are securely fastened, with no gaps or misaligned pieces. Clean up any debris and remove any excess materials from the roof to ensure a safe and tidy work environment.
Conclusion
Shingling a roof with 3-tab shingles is a rewarding project that can enhance the durability and appearance of your home. With proper preparation, attention to detail, and safety precautions, you can successfully install these shingles yourself. Whether you choose to hire a professional or tackle the job on your own, understanding the steps involved will help ensure that your roofing project goes smoothly and results in a sturdy, attractive roof that can last for decades.
Previous:
Latest news
-
How Long Do Clay & Cement Tile Roofs Last? + Durability Tips
NewsMay.16,2025
-
High-Reflective Asphalt Glass Shingles Durable & Energy-Efficient Roofing
NewsMay.15,2025
-
Laminated Shingles Price Durable & Affordable Roofing Solutions Explore Now
NewsMay.15,2025
-
Cost to Replace Roof with Architectural Shingles 2024 Pricing & Savings
NewsMay.14,2025
-
Reclaimed Asphalt Shingles Eco-Friendly & Durable Roofing Solutions
NewsMay.14,2025
-
Asphalt Shingle Restoration Services - Extend Roof Life & Save Costs
NewsMay.14,2025


Copyright © 2025 Hebei Chida Manufacture and Trade Co., Ltd. All Rights Reserved. Sitemap | Privacy Policy