სექ . 09, 2024 16:00 Back to list
How to Install Asphalt Shingles on Your Shed
Installing Asphalt Shingles on a Shed
Installing asphalt shingles on a shed is an effective way to enhance its durability and weather resistance. Whether you're building a new shed or updating an existing one, asphalt shingles are a popular choice due to their affordability and ease of installation. This guide will provide you with the steps necessary to successfully shingle your shed, ensuring a long-lasting and attractive roof.
Materials Needed
Before beginning the installation, gather the necessary materials. You will need asphalt shingles, roofing felt, roofing nails, a hammer, a utility knife, a measuring tape, and a ladder. Additionally, having a chalk line, a straight edge, and safety gear such as gloves and goggles will ensure a safer and more efficient project.
Preparing the Shed
Start by preparing the roof of the shed. Ensure that the surface is clean, dry, and free of any debris. If the shed has an old roof, remove any existing shingles and repair any damaged areas. Once the surface is ready, install roofing felt, which serves as a moisture barrier. Lay the felt horizontally along the roof, overlapping each row by around six inches, and secure it in place with roofing nails.
Installing the Shingles
Once the roofing felt is in place, it's time to install the asphalt shingles. Begin by determining the starting row. The first row of shingles should be placed at the bottom edge of the roof. Align the shingles so that they hang over the edge slightly, usually about an inch. This overhang helps direct water away from the shed.
installing asphalt shingles on a shed

Using roofing nails, secure each shingle. Most shingles require four to six nails per shingle, depending on the wind rating and manufacturer's instructions. Be sure to nail each shingle just above the adhesive strip to prevent leaks.
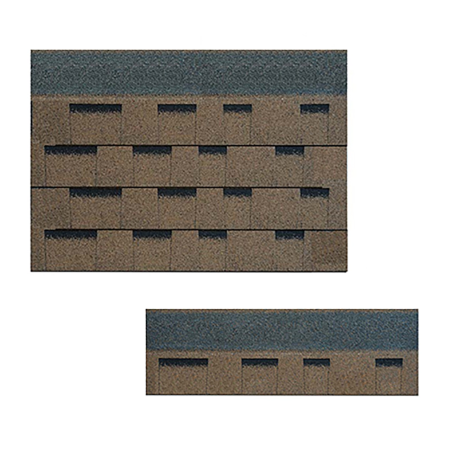
Continue to install shingles row by row, working your way up to the ridge of the roof. Be mindful of staggering the seams of each shingle to enhance water shedding and structural integrity. This means that the center of one shingle should align with the joint of the shingles below it, creating a staggered appearance.
Finishing Touches
Once you reach the ridge of the roof, you will need to install ridge shingles. These shingles are designed to cover the peak and provide added protection against weather elements. Cut them as needed and secure them in place with nails.
Lastly, inspect the roof for any exposed nails or gaps. Seal these areas with roofing cement to ensure a watertight finish. Clean up the work area, removing any debris and leftover materials.
Conclusion
Installing asphalt shingles on a shed is a straightforward project that can significantly extend the life of your shed. By following these steps and using the right materials, you can achieve a professional-looking roof that adds aesthetic value and protection to your outdoor storage space. Happy roofing!
-
Types of Roof Shingles: Durable Styles & Materials
NewsAug.04,2025
-
Different 3 Tab Shingles Types | Affordable & Durable Roofing
NewsAug.03,2025
-
Moonlight White HIREFLE Granules with GPT-4 Turbo
NewsAug.02,2025
-
Premium Round Asphalt Shingles: Durable & Elegant Roofing
NewsAug.01,2025
-
Eco-Friendly Clay Tiles | AI-Enhanced Durability
NewsJul.31,2025
-
Durable Shingle Granules for Premium Roofs
NewsJul.31,2025


