Oct . 31, 2024 13:56 Back to list
Guide to Installing New Roof Shingles for a Durable Home Upgrade
Installing New Roof Shingles A Step-by-Step Guide
Installing new roof shingles can be a rewarding project that not only enhances the aesthetic appeal of your home but also protects it from the elements. Whether you're a seasoned DIY enthusiast or a homeowner looking to save on roofing costs, this guide will walk you through the essential steps for a successful installation.
1. Gather Necessary Materials and Tools
Before starting, ensure you have all the necessary materials. This includes shingles, roofing felt, roofing nails, and flashing. Additionally, gather tools such as a hammer, utility knife, measuring tape, and ladder. Wearing safety gear like gloves and goggles is also crucial.
2. Remove Old Shingles
Begin by removing the old shingles if applicable. Use a pry bar to lift and detach shingles carefully, ensuring you don’t damage the underlying decking. Dispose of old materials properly to maintain a clean working environment.
3. Inspect the Roof Deck
Once the old shingles are removed, inspect the roof deck for any damage. Look for rot, mold, or structural issues. Replace any damaged wood before proceeding. This step is crucial, as a strong foundation is vital for a lasting roof.
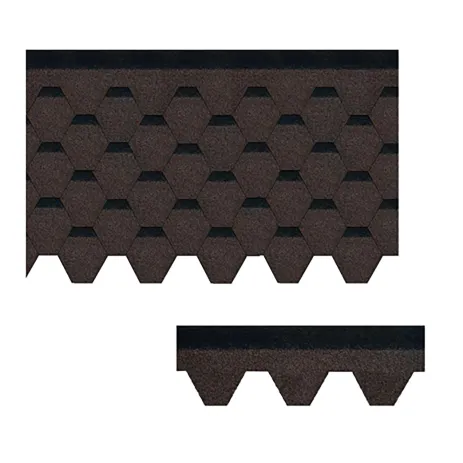
installing new roof shingles

After ensuring the roof deck is secure, roll out roofing felt over the entire surface. Begin at the lower edge and work your way up, overlapping each row by at least four inches. Use roofing nails to secure the felt, which serves as an additional moisture barrier.
5. Start Installing Shingles
Now it’s time to install the new shingles. Begin at the bottom edge of the roof, ensuring the first row is level. Nail down each shingle according to the manufacturer's specifications, typically using four to six nails per shingle. Make sure to stagger the seams of each row for added strength.
6. Add Flashing and Accessories
Install flashing around chimneys, vents, and valleys to prevent leaks. Additionally, consider adding ridge caps at the peak of the roof for a finished look and extra protection against water infiltration.
7. Clean Up and Inspect
After completing the installation, take the time to clean up any debris and leftover materials. Finally, inspect your work to ensure every shingle is secured and there are no exposed areas that could lead to leaks.
Conclusion
Installing new roof shingles can be a manageable DIY project with the right preparation and tools. By following these steps, you can achieve a durable, beautiful roof that will protect your home for years to come. Always remember that safety is paramount, and if you feel uncertain, don't hesitate to consult a professional.
-
Stone Coated Metal Roof Tile-Nosen Tile: Durable & Stylish Roofing
NewsJul.23,2025
-
Durable Tiles Made of Clay for Modern Cladding Solutions
NewsJul.22,2025
-
Stone Coated Roman Tile Metal Roofing - Durable & Elegant
NewsJul.22,2025
-
Premium Roofing Granules for Sale - High Durability & Cost-Saving
NewsJul.21,2025
-
Durable Laminated Shingles for Weather-Resistant Roofing
NewsJul.21,2025
-
Rubber Roofing Shingles - Durable & Weatherproof SBS Rubber Asphalt Shingles for Homes & Businesses
NewsJul.08,2025


