kol . 11, 2024 19:56 Back to list
Step-by-Step Guide to Installing Asphalt Roll Roofing for Your Home Projects
Asphalt Roll Roofing Installation A Comprehensive Guide
Asphalt roll roofing is an economical and efficient option for covering flat or low-slope roofs. It is made from a combination of asphalt, reinforcing materials, and granules, providing durability and a range of aesthetic choices. If you're considering installing asphalt roll roofing, understanding the installation process is crucial for achieving a long-lasting and effective roof.
Materials and Tools Needed
Before starting your installation, gather the necessary materials and tools. You'll need
- Asphalt roll roofing - Roofing felt (underlayment) - Roofing nails or staples - Asphalt cement (or other adhesive) - A utility knife - Measuring tape - Chalk line - Ladder - Safety gear (gloves, goggles)
Preparation
1. Inspect and Prepare the Roof Ensure your roof deck is clean and in good condition. Remove any old roofing materials, debris, and screws. If the surface is uneven or damaged, repair it before proceeding.
2. Measure the Roof Area Measure the length and width of the roof to determine how much roll roofing you'll need. It's always advisable to add around 10% to account for cuts and waste.
3. Install Underlayment Lay down a layer of roofing felt if the surface requires it. This underlayment serves as an additional moisture barrier. Overlap each row by 2 to 4 inches, securing it with roofing nails.
Installation Process
1. Start from the Bottom Begin at the lowest point of the roof, working your way up. Roll out the first strip of asphalt roofing and allow it to lay flat. Make sure to maintain the correct orientation, as indicated by markings on the roll.
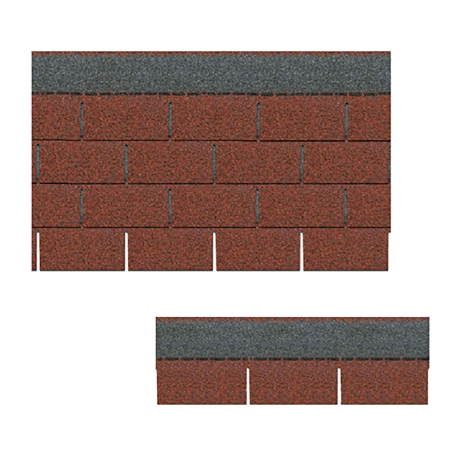
asphalt roll roofing installation

2. Secure the Roll Use roofing nails or staples to secure the bottom edge of the roll. Place nails approximately 12 inches apart along the edge. Apply asphalt cement underneath the roll for additional adhesion if required.
3. Overlap the Ends When installing subsequent rolls, overlap the edge of the previous roll by 4 inches to ensure proper water runoff. Use a chalk line to help maintain a straight edge.
4. Seal the Joints To prevent moisture infiltration, apply a bead of asphalt cement along the seams where the rolls meet. This step is critical for achieving a watertight seal.
5. Cut Excess Material Once you reach the top of the roof, you may need to trim excess material. Use a utility knife for a clean cut. Always ensure the edges are sealed properly.
Final Touches
- Edging and Flashing After all rolls are laid and secured, install any required edging and flashing at roof edges, vents, or chimneys. This hardware prevents water from seeping under the roofing material.
- Final Inspection Once installed, inspect the entire roof for any loose areas or potential problems. Make necessary repairs or adjustments to ensure a solid installation.
Maintenance Tips
Although asphalt roll roofing is designed to last, regular maintenance is essential. Inspect your roof regularly for damage, and clear away debris to prevent blockages. Check seams and flashing periodically and reapply asphalt cement as needed.
Conclusion
Installing asphalt roll roofing can be a straightforward project with the right preparation and knowledge. With its affordability and durability, it stands out as an excellent choice for various roofing applications. By following the steps outlined in this guide, you can ensure a successful installation, leading to a reliable and effective roof for years to come. Always consider engaging a professional if you're uncertain about any part of the process to ensure safety and compliance with local building codes.
-
Premium Round Asphalt Shingles: Durable & Elegant Roofing
NewsAug.01,2025
-
Eco-Friendly Clay Tiles | AI-Enhanced Durability
NewsJul.31,2025
-
Durable Shingle Granules for Premium Roofs
NewsJul.31,2025
-
Stone Coated Metal Roof Tile-Roman Tile for Durable Roofing Solutions
NewsJul.30,2025
-
Stone Coated Metal Roof Tile-Wood Grain Tile for Durable Roofing
NewsJul.30,2025
-
Stone Coated Metal Roof Tile-Nosen Tile: Durable, Stylish Roofing Solution
NewsJul.29,2025


