kol . 30, 2024 16:50 Back to list
Steel Tile Roofing Installation
Steel Tile Roofing Installation A Comprehensive Guide
Steel tile roofing has become an increasingly popular choice in modern construction due to its exceptional durability, aesthetic appeal, and energy efficiency. Installing steel tile roofing may seem daunting, but with the right approach and materials, the process can be smooth and rewarding. This article provides a comprehensive guide to steel tile roofing installation.
Preparation
Before beginning the installation process, adequate preparation is crucial. Firstly, assess the existing roof structure to ensure it can support the additional weight of steel tiles. If the current roof is damaged or deteriorating, it may need to be repaired or replaced before proceeding. Additionally, gather all necessary tools and materials, including steel tiles, underlayment, flashing, screws, and a safety harness.
Choosing the Right Steel Tiles
Selecting the appropriate steel tiles is essential. They come in various styles, colors, and finishes, allowing homeowners to customize the roof to match their aesthetic preferences. Moreover, consider the gauge of steel, as thicker panels will offer greater durability and resistance to weather elements. Ensure that the tiles are coated with a protective finish to prevent rust and corrosion.
Installation Steps
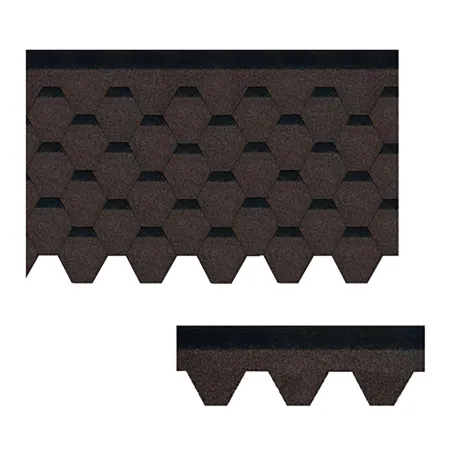
steel tile roofing installation

1. Install Underlayment Begin by rolling out a protective underlayment over the entire roof deck. This water-resistant barrier will protect against leaks and moisture buildup.
2. Start at the Eave Begin laying the steel tiles from the eave upwards. This ensures that water flows over the seams rather than under them. Secure the first row of tiles using screws or clips as per the manufacturer’s instructions.
3. Align Tiles As you install each subsequent row, ensure that the tiles are properly aligned and overlapping to create a watertight seal. Pay close attention to the edge and peak of the roof to maintain an even appearance.
4. Install Flashing Use flashing around roof penetrations (like chimneys and vents) and at the roof’s edges to further prevent leaks. Proper flashing installation is critical in ensuring the roof’s integrity.
5. Final Inspection After all tiles are in place, conduct a thorough inspection to ensure all components are secure and properly aligned. This step is crucial for a long-lasting roofing system.
Conclusion
Installing steel tile roofing can enhance the aesthetic and functional value of a home. While the process requires careful planning and execution, the end result is a resilient roof that can withstand various weather conditions. Following the outlined steps will help ensure a successful installation and provide peace of mind for years to come. If the project seems overwhelming, don’t hesitate to consult with a professional roofing contractor to ensure that your steel tile roof is installed correctly.
-
Moonlight White HIREFLE Granules with GPT-4 Turbo
NewsAug.02,2025
-
Premium Round Asphalt Shingles: Durable & Elegant Roofing
NewsAug.01,2025
-
Eco-Friendly Clay Tiles | AI-Enhanced Durability
NewsJul.31,2025
-
Durable Shingle Granules for Premium Roofs
NewsJul.31,2025
-
Stone Coated Metal Roof Tile-Roman Tile for Durable Roofing Solutions
NewsJul.30,2025
-
Stone Coated Metal Roof Tile-Wood Grain Tile for Durable Roofing
NewsJul.30,2025


