
coolroof@cnchida.com
+86 13803333363
 Afrikaans
 Albanian
 Amharic
 Arabic
 Armenian
 Azerbaijani
 Basque
 Belarusian
 Bengali
 Bosnian
 Bulgarian
 Catalan
 Cebuano
 Corsican
 Croatian
 Czech
Czech
 Danish
 Dutch
Dutch
 English
 Esperanto
 Estonian
 Finnish
 French
 Frisian
 Galician
 Georgian
 German
 Greek
Greek
 Gujarati
 Haitian Creole
 hausa
hausa
 hawaiian
 Hebrew
 Hindi
Hindi
 Miao
Miao
 Hungarian
 Icelandic
 igbo
igbo
 Indonesian
 irish
irish
 Italian
 Japanese
 Javanese
 Kannada
 kazakh
 Khmer
Khmer
 Rwandese
 Korean
 Kurdish
 Kyrgyz
 Lao
Lao
 Latin
Latin
 Latvian
 Lithuanian
 Luxembourgish
 Macedonian
 Malgashi
 Malay
Malay
 Malayalam
 Maltese
 Maori
Maori
 Marathi
 Mongolian
 Myanmar
 Nepali
 Norwegian
 Norwegian
 Occitan
 Pashto
 Persian
 Polish
 Portuguese
 Punjabi
 Romanian
 Russian
 Samoan
 Scottish Gaelic
 Serbian
 Sesotho
 Shona
Shona
 Sindhi
 Sinhala
 Slovak
 Slovenian
 Somali
 Spanish
 Sundanese
 Swahili
 Swedish
 Tagalog
 Tajik
Tajik
 Tamil
Tamil
 Tatar
Tatar
 Telugu
 Thai
Thai
 Turkish
 Turkmen
 Ukrainian
 Urdu
Urdu
 Uighur
 Uzbek
Uzbek
 Vietnamese
 Welsh
Welsh
 Bantu
Bantu
 Yiddish
 Yoruba
 Zulu
Zulu
אוג . 07, 2024 08:15 Back to list
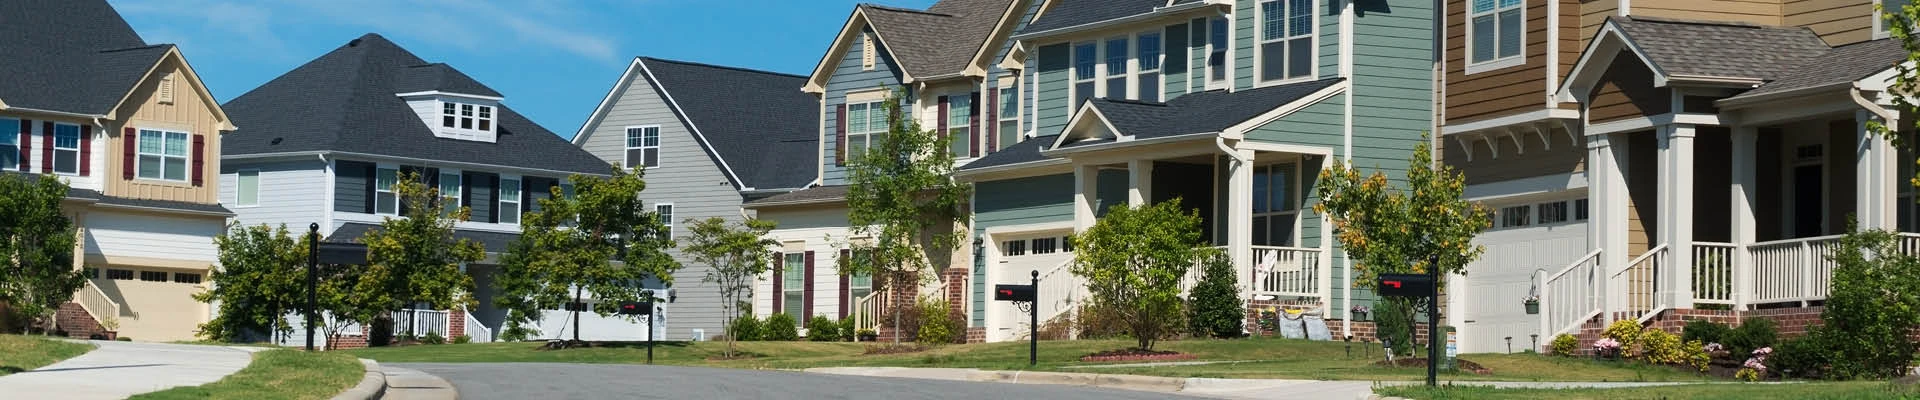
A Comprehensive Guide to Installing Asphalt Shingles on Your Shed Roof Efficiently
Installing Asphalt Shingles on a Shed Roof
When it comes to roofing options for your shed, asphalt shingles stand out as a popular choice due to their affordability, ease of installation, and durability. Whether you’re building a new shed or refurbishing an old one, installing asphalt shingles can enhance both the functionality and aesthetics of your structure. In this article, we will guide you through the process of installing asphalt shingles on a shed roof.
Materials and Tools Needed
Before you begin, gather all the necessary materials and tools. You will need
- Asphalt shingles - Roofing felt - Roofing nails - Drip edge - Roof adhesive or cement - A utility knife - A hammer or nail gun - A measuring tape - A ladder - A chalk line - Safety gear (gloves, goggles)
Preparing the Roof
Before installing shingles, ensure your shed's roof is in good condition. Remove any old roofing material, debris, and inspect for any structural damage. If the wood is rotted or damaged, make necessary repairs before proceeding.
Next, lay down a layer of roofing felt. This acts as an underlayment, providing an additional barrier against moisture. Start at the eaves and work your way up to the peak, overlapping each subsequent row by a few inches. Secure it in place using roofing nails, and ensure that it lies flat across the surface without any wrinkles.
Installing the Drip Edge
The drip edge is essential for directing rainwater away from the shed’s roof and preventing water from seeping under the shingles. Install the drip edge along the eaves of the roof, ensuring it extends slightly beyond the edge of the roof. Use roofing nails to secure it in place, nailing every foot or so along the edge.
installing asphalt shingles on a shed roof
Laying the Asphalt Shingles
Start laying shingles from the bottom of the roof, working towards the peak. Begin with the first row, ensuring it is aligned straight and flush with the edge of the roof. Use your measuring tape and chalk line to mark a straight line if necessary. Secure the shingles in place with roofing nails, placing them according to the manufacturer’s instructions—typically four nails per shingle.
As you progress to the next row of shingles, stagger the seams by half the length of the shingle. This technique helps create a more interlocking pattern, enhancing the roof's ability to resist water infiltration. Continue this process until you reach the peak of the roof.
Adding the Ridge Cap
Once all shingles are installed, it’s time to install the ridge cap. The ridge cap consists of shingles that are cut in half and placed over the peak of the roof. This not only provides a finished look but also prevents water from seeping through the ridge. Nail each ridge cap shingle in place securely, ensuring they are evenly spaced.
Finishing Touches
After installation, take a moment to check for any loose shingles and ensure that all nails are securely fastened. Clean up any debris around the shed, including packaging materials from the shingles. Finally, step back and admire your work, knowing that your shed is now better protected against the elements.
Conclusion
Installing asphalt shingles on a shed roof is a manageable DIY project that can significantly improve both the appearance and longevity of your shed. With the right materials, tools, and a bit of patience, you can achieve a professional-looking result. So grab your tools and get started on transforming your shed into a reliable storage solution that will withstand the test of time.
Latest news
-
Metal Roof Lifespan How Long Are Metal Roofs Good For? (50+ Years)
NewsApr.29,2025
-
Double Roman Vent Durable Weatherproof Roof Tile Ventilation Solution
NewsApr.29,2025
-
Average Cost of Asphalt Roof Replacement Per Sq Ft & Total Estimates
NewsApr.28,2025
-
Metal Roof to Shingle Transition Flashing Kits Leak-Proof & Durable Solutions
NewsApr.28,2025
-
Flat Roof Tiles Types Durable Terracotta & Clay Options Explore Now
NewsApr.28,2025
-
Roman Roof Tiles Durable Classic & Modern Styles Free Shipping
NewsApr.27,2025


Copyright © 2025 Hebei Chida Manufacture and Trade Co., Ltd. All Rights Reserved. Sitemap | Privacy Policy