Abe . 04, 2024 09:58 Back to list
Guide to Installing Three Tab Shingles for Your Roof Project
Installing 3 Tab Shingles A Comprehensive Guide
Installing 3 tab shingles is an essential skill for homeowners looking to upgrade their roofing system. Known for their classic look and affordability, 3 tab shingles are a popular choice for many residential buildings. This guide provides an overview of the installation process, materials needed, and tips for achieving a successful roofing project.
Materials and Tools Required
Before starting your roofing project, it's crucial to gather all necessary materials and tools. Here's a list of what you'll need
Materials 1. 3 Tab Shingles Choose a color and style that complements your home. 2. Underlayment A protective layer that serves as an additional waterproof barrier. 3. Roofing Nails Corrosion-resistant nails specifically designed for roofing. 4. Flashing Metal flashing for areas that require extra protection, like chimneys and vents. 5. Sealant A roofing sealant for additional waterproofing at seams and joints.
Tools 1. Utility Knife For cutting shingles and underlayment. 2. Hammer or Nail Gun To secure the shingles in place. 3. Measuring Tape For accurate measurements. 4. Straight Edge or Chalk Line To ensure even alignment of shingles. 5. Ladder A sturdy ladder for accessing the roof safely.
Preparation Steps
Preparation is key to a successful installation. Start by inspecting your roof’s structure for any damage. Replace any rotten wood and ensure the surface is clean and dry. Once the roof deck is ready, lay down roofing felt or underlayment. This step is vital as it acts as a secondary water barrier.
Make sure to overlap the underlayment, starting from the bottom of the roof and working your way up. This will prevent water from seeping underneath the shingles. Secure the underlayment with roofing nails every few feet.
Installing the 3 Tab Shingles
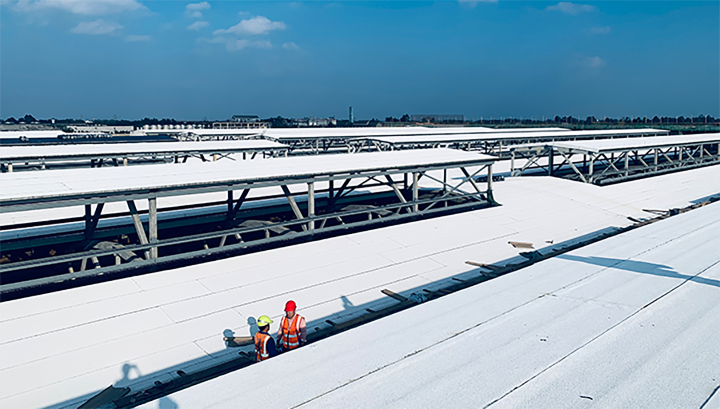
installing 3 tab shingles

1. Starting Row Begin at the bottom edge of the roof. The first row of shingles will be your starter course, which helps create a solid foundation for the rest of the shingles. Cut the first shingle in half and use it to start the row, ensuring it hangs slightly over the edge of the roof.
2. Laying the Shingles For the subsequent rows, align the shingles so that they overlap the previous row by about 5 inches. Make sure the joints are staggered to prevent water from finding a path through the seams. This staggered pattern is crucial in enhancing the shingles’ effectiveness against the elements.
3. Nailing Down the Shingles Use 4 to 6 nails per shingle, placing them about 1 inch above the cutout at the bottom of the shingle. Be cautious not to nail too tightly, as this can cause damage to the shingle.
4. Cutting Shingles You may need to cut shingles at the edges or around vents. Use a utility knife for clean cuts, and ensure that the edges fit snugly.
Flashing and Finishing
After laying down the shingles, pay attention to areas that require flashing. Install flashing around chimneys, skylights, and any roof protrusions to prevent leaks. Seal any joints with roofing sealant to enhance protection against water infiltration.
Final Inspection
Once all shingles are installed, conduct a final inspection. Ensure there are no loose shingles, that all nails are properly driven in, and that flashing is secure. Cleaning up any debris around the work area ensures safety and maintains a tidy appearance.
Conclusion
Installing 3 tab shingles can be a rewarding DIY project if approached with care and precision. With the right materials, tools, and preparation, you can enhance your home’s curb appeal and protect it from the elements. Remember to prioritize safety at all times, and if you feel uncertain about any part of the process, don’t hesitate to consult a professional. With patience and practice, your roof will not only look great but will also provide durability for many years to come.
-
How Long Should a Cedar Shake Roof Last? Expert Guide & Replacement Options
NewsJul.06,2025
-
Premium Expensive Shingles Enhance Your Roof with Lasting Durability and Style
NewsJul.06,2025
-
Roof Shingle Construction Durable & Cost-Effective Asphalt Roof Solutions
NewsJul.06,2025
-
Premium Red 3 Tab Roof Shingles for Durable, Stylish Roofing Solutions
NewsJul.05,2025
-
Ceiling Clay Tiles Price - Affordable, Durable & Aesthetic Clay Ceiling Tile Solutions
NewsJul.05,2025
-
Best Solutions for Replacing Asphalt Shingles Upgrade Your Roof Efficiently
NewsJul.05,2025


