
coolroof@cnchida.com
+86 13803333363
 Afrikaans
 Albanian
 Amharic
 Arabic
 Armenian
 Azerbaijani
 Basque
 Belarusian
 Bengali
 Bosnian
 Bulgarian
 Catalan
 Cebuano
 Corsican
 Croatian
 Czech
Czech
 Danish
 Dutch
Dutch
 English
 Esperanto
 Estonian
 Finnish
 French
 Frisian
 Galician
 Georgian
 German
 Greek
Greek
 Gujarati
 Haitian Creole
 hausa
hausa
 hawaiian
 Hebrew
 Hindi
Hindi
 Miao
Miao
 Hungarian
 Icelandic
 igbo
igbo
 Indonesian
 irish
irish
 Italian
 Japanese
 Javanese
 Kannada
 kazakh
 Khmer
Khmer
 Rwandese
 Korean
 Kurdish
 Kyrgyz
 Lao
Lao
 Latin
Latin
 Latvian
 Lithuanian
 Luxembourgish
 Macedonian
 Malgashi
 Malay
Malay
 Malayalam
 Maltese
 Maori
Maori
 Marathi
 Mongolian
 Myanmar
 Nepali
 Norwegian
 Norwegian
 Occitan
 Pashto
 Persian
 Polish
 Portuguese
 Punjabi
 Romanian
 Russian
 Samoan
 Scottish Gaelic
 Serbian
 Sesotho
 Shona
Shona
 Sindhi
 Sinhala
 Slovak
 Slovenian
 Somali
 Spanish
 Sundanese
 Swahili
 Swedish
 Tagalog
 Tajik
Tajik
 Tamil
Tamil
 Tatar
Tatar
 Telugu
 Thai
Thai
 Turkish
 Turkmen
 Ukrainian
 Urdu
Urdu
 Uighur
 Uzbek
Uzbek
 Vietnamese
 Welsh
Welsh
 Bantu
Bantu
 Yiddish
 Yoruba
 Zulu
Zulu
Abe . 09, 2024 19:34 Back to list
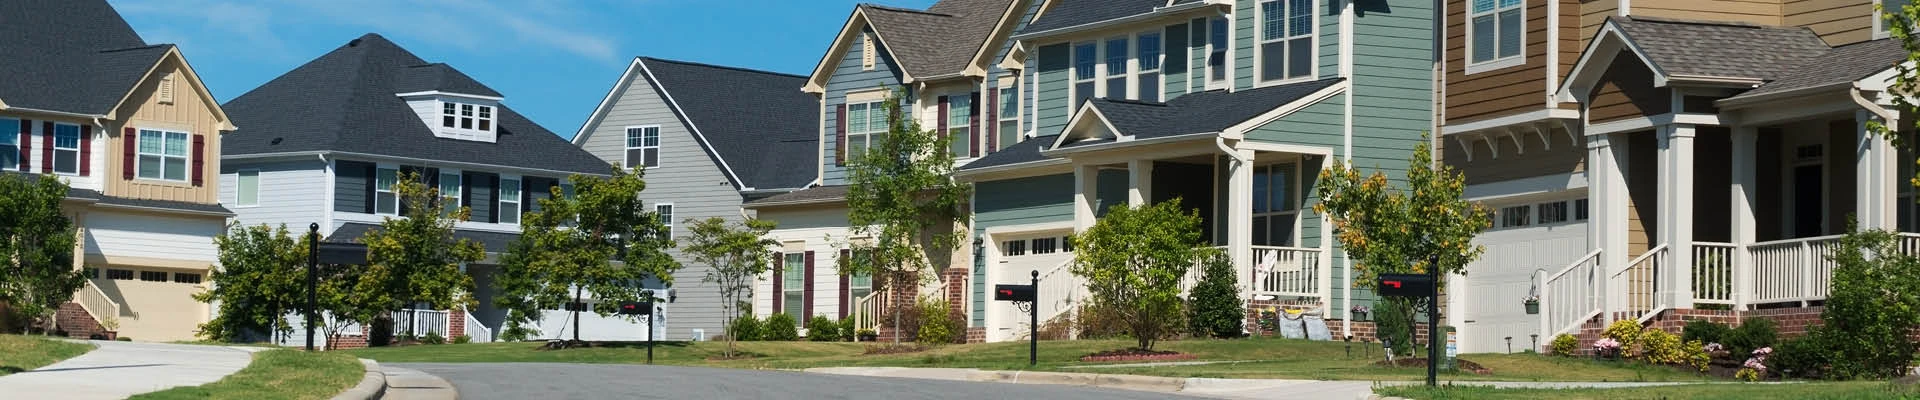
Steps for Installing Asphalt Shingles on Your Roof for a Durable Finish
Applying Asphalt Shingles A Comprehensive Guide
Asphalt shingles are one of the most popular roofing materials used today, chosen for their durability, affordability, and ease of installation. Whether you're building a new home or replacing an old roof, understanding how to apply asphalt shingles can help ensure a long-lasting and effective roofing solution. This article will guide you through the process of applying asphalt shingles, covering preparation, installation, and essential tips for success.
Preparation
Before you start applying asphalt shingles, it's crucial to prepare both your work area and the roofing materials effectively. First, ensure you have the necessary tools and materials. You will need asphalt shingles, roofing nails, a hammer, a utility knife, a measuring tape, a chalk line, and, ideally, safety equipment such as gloves and goggles.
Next, inspect your existing roof structure. Remove any old roofing materials, including shingles, underlayment, and any damaged plywood or sheathing. Check for rot or leaks that may compromise the integrity of your new roof. Once the surface is clean and dry, lay down a layer of underlayment. This protective barrier helps to prevent water damage and provides additional insulation.
Installation Process
1. Start with a Starter Course The first step in applying asphalt shingles is to lay the starter course. Measure and cut a strip of shingles to fit the eaves of your roof. This row of shingles should hang slightly over the edge of the roof. Nail the starter strip in place, ensuring that the nails are evenly spaced and secure.
applying asphalt shingles

2. Align and Install Shingles Begin with the first full row of shingles. Place the first shingle against the starter course, ensuring it is aligned correctly. Each shingle should overlap the one below it by about five to six inches. Use your chalk line to maintain a straight line across the roof as you continue to apply the shingles. Nail each shingle in place using four to six nails per shingle, depending on the wind rating of your shingles.
3. Working Up the Roof Continue to install shingles, moving upwards row by row. Remember to stagger the seams of the shingles, as this will help create a more durable roof and prevent water infiltration. As you reach the roof's peak, you may need to cut shingles to fit.
4. Ridge Cap Installation Once you have covered the entire roof, install ridge cap shingles along the peak. These are specially designed to protect the highest point of your roof from water damage. Cut shingles to the appropriate length and overlap them similar to the other shingles, nailing them securely in place.
Final Touches and Maintenance
After the shingles are installed, take a moment to inspect the entire roof for any loose shingles or areas that may need extra attention. Properly sealing any exposed nails or edges will help enhance the longevity of your roofing system. Finally, it's essential to perform regular maintenance on your roof. Checking for debris, inspecting for damage after severe weather, and cleaning out gutters will prolong the life of your asphalt shingles and maintain the integrity of your roofing system.
Conclusion
Applying asphalt shingles is a manageable DIY project for those willing to invest time and effort. By following these structured steps, you can ensure your roof is installed correctly, providing protection and enhancement to your home for years to come. Remember, if you're ever unsure about the process or encounter significant problems with your roof, it’s wise to consult with or hire a professional roofing contractor. With the right approach, your asphalt shingle roof can be both an aesthetic improvement and a reliable barrier against the elements.
Latest news
-
Asphalt Shingle Roof Cost per Sq Ft Affordable Replacement Quotes
NewsMay.23,2025
-
Asphalt Roofing Price per Square Best Rates & Durable Shingles
NewsMay.23,2025
-
Durable 3D Duroid Roofing Shingles - Weather-Resistant & Stylish
NewsMay.23,2025
-
Premium Flat Floor Tiles Durable Roof & Interior Solutions
NewsMay.22,2025
-
Double Roman Roof Tiles Sale - Best Prices on Durable Concrete Tiles
NewsMay.22,2025
-
100-Year Durable Asphalt Shingles (100 Sq Ft) Long-Lasting Roofing
NewsMay.22,2025


Copyright © 2025 Hebei Chida Manufacture and Trade Co., Ltd. All Rights Reserved. Sitemap | Privacy Policy