Ago . 13, 2024 13:28 Back to list
Effective Solutions for Repairing Leaks in Your Roof Shingles to Prevent Further Damage
Roof Shingles Leak Repair A Comprehensive Guide
Roof shingles play a crucial role in protecting your home from the elements. However, over time, they can become damaged or compromised, leading to leaks that can cause significant damage if not addressed promptly. Understanding how to repair leaking roof shingles is essential for homeowners who want to maintain the integrity of their roofs and protect their homes from water damage.
Identifying the Problem
Before diving into repairs, it’s important to identify the cause of the leak. Common indicators include water stains on ceilings or walls, damp spots, or visible shingle damage. To locate the source of the leak, you may need to inspect your roof. Look for missing shingles, curled or buckled shingles, or areas where shingles have cracked. Additionally, check the flashing around chimneys and vents, as this is often a weak point where leaks can develop.
Gathering Materials
Once you've identified the problem, gather the necessary materials for the repair. Typically, you’ll need
- Replacement shingles (matching your existing shingles is crucial for a uniform look) - Roofing cement or adhesive - A putty knife - A pry bar - A utility knife - Safety goggles and gloves - A ladder
Repairing the Leak
1. Safety First Before starting any repair work, ensure that you take the necessary safety precautions. Use a sturdy ladder and wear non-slip shoes. If your roof is steep or high, consider hiring a professional roofer.
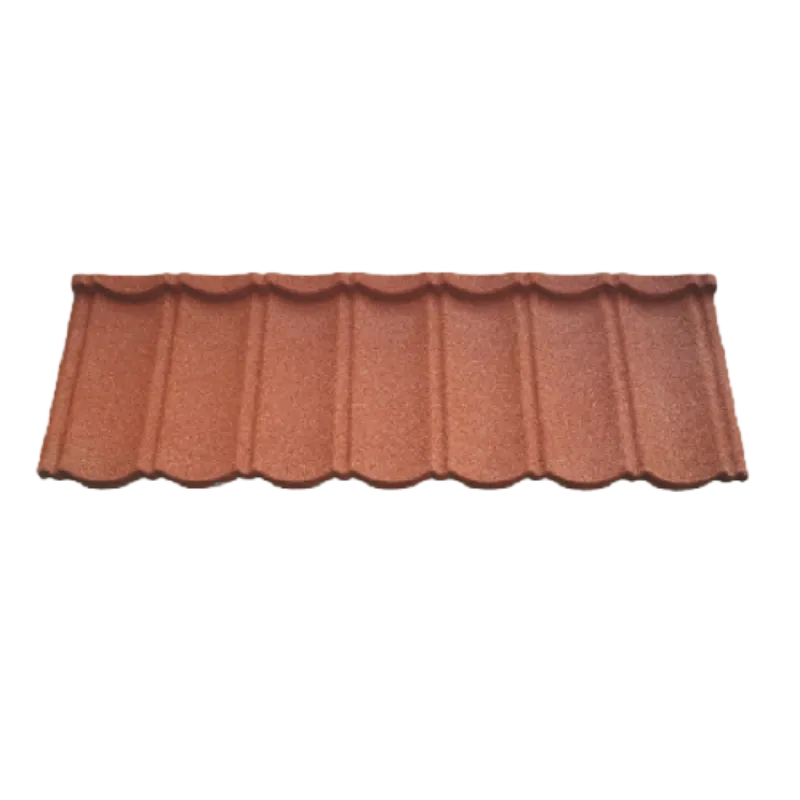
roof shingles leak repair

2. Remove Damaged Shingles Using a pry bar, gently lift the damaged shingle and the surrounding shingles to avoid causing additional damage. Carefully remove any nails holding the damaged shingle in place.
3. Inspect Underlying Roofing Felt Once the shingle is removed, inspect the underlying roofing felt. If it is damaged, you may need to patch it with new felt. Cut a piece that fits over the damaged area and apply roofing cement to secure it.
4. Install New Shingle Place the new shingle where the old one was removed. Make sure it overlaps the surrounding shingles properly. Use roofing nails to secure it in place, driving them below the surface of the shingle to prevent water from pooling.
5. Seal the Shingles Apply roofing cement under the edges of the new shingle and around the nails to ensure a watertight seal. Smooth the cement with a putty knife for an even finish.
6. Final Inspection Once your repairs are complete, take a moment to inspect your work. Make sure all edges are sealed, and everything looks as it should.
Preventive Measures
To prevent future leaks, consider conducting regular inspections of your roof, especially before and after severe weather. Cleaning gutters routinely and addressing any small issues early can help prolong the life of your shingles. Additionally, consider having a professional roof inspection every few years to catch potential problems before they lead to leaks.
Conclusion
Repairing leaking roof shingles is a manageable task for most homeowners, provided they take the necessary precautions and approach the repair methodically. By promptly addressing leaks and maintaining your roof, you can protect your home from water damage and extend the life of your roofing system. Remember, when in doubt, consulting a professional roofer is always a wise choice to ensure your home remains safe and dry.
-
Moonlight White HIREFLE Granules with GPT-4 Turbo
NewsAug.02,2025
-
Premium Round Asphalt Shingles: Durable & Elegant Roofing
NewsAug.01,2025
-
Eco-Friendly Clay Tiles | AI-Enhanced Durability
NewsJul.31,2025
-
Durable Shingle Granules for Premium Roofs
NewsJul.31,2025
-
Stone Coated Metal Roof Tile-Roman Tile for Durable Roofing Solutions
NewsJul.30,2025
-
Stone Coated Metal Roof Tile-Wood Grain Tile for Durable Roofing
NewsJul.30,2025


