
coolroof@cnchida.com
+86 13803333363
 Afrikaans
 Albanian
 Amharic
 Arabic
 Armenian
 Azerbaijani
 Basque
 Belarusian
 Bengali
 Bosnian
 Bulgarian
 Catalan
 Cebuano
 Corsican
 Croatian
 Czech
Czech
 Danish
 Dutch
Dutch
 English
 Esperanto
 Estonian
 Finnish
 French
 Frisian
 Galician
 Georgian
 German
 Greek
Greek
 Gujarati
 Haitian Creole
 hausa
hausa
 hawaiian
 Hebrew
 Hindi
Hindi
 Miao
Miao
 Hungarian
 Icelandic
 igbo
igbo
 Indonesian
 irish
irish
 Italian
 Japanese
 Javanese
 Kannada
 kazakh
 Khmer
Khmer
 Rwandese
 Korean
 Kurdish
 Kyrgyz
 Lao
Lao
 Latin
Latin
 Latvian
 Lithuanian
 Luxembourgish
 Macedonian
 Malgashi
 Malay
Malay
 Malayalam
 Maltese
 Maori
Maori
 Marathi
 Mongolian
 Myanmar
 Nepali
 Norwegian
 Norwegian
 Occitan
 Pashto
 Persian
 Polish
 Portuguese
 Punjabi
 Romanian
 Russian
 Samoan
 Scottish Gaelic
 Serbian
 Sesotho
 Shona
Shona
 Sindhi
 Sinhala
 Slovak
 Slovenian
 Somali
 Spanish
 Sundanese
 Swahili
 Swedish
 Tagalog
 Tajik
Tajik
 Tamil
Tamil
 Tatar
Tatar
 Telugu
 Thai
Thai
 Turkish
 Turkmen
 Ukrainian
 Urdu
Urdu
 Uighur
 Uzbek
Uzbek
 Vietnamese
 Welsh
Welsh
 Bantu
Bantu
 Yiddish
 Yoruba
 Zulu
Zulu
Δεκ . 06, 2024 21:10 Back to list
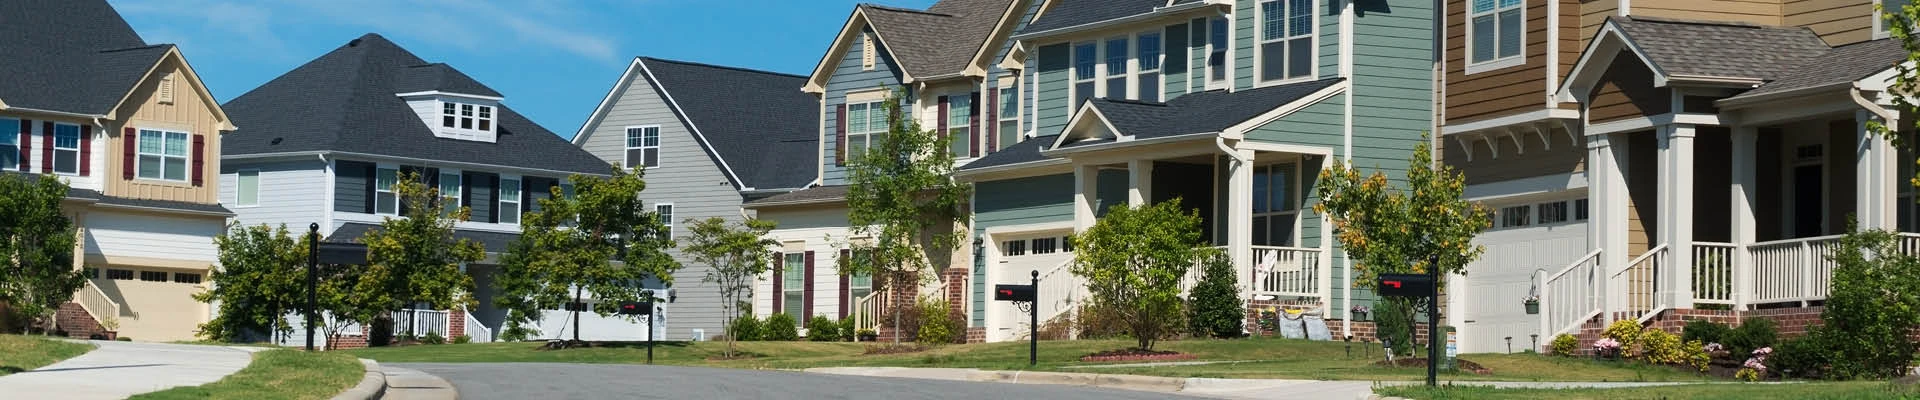
asphalt roof shingles installation
The Complete Guide to Asphalt Roof Shingles Installation
Asphalt roof shingles are one of the most popular roofing materials in North America due to their affordability, durability, and ease of installation. If you're considering a DIY roofing project or simply want to understand the principles behind the installation of asphalt roof shingles, this guide will provide you with all the necessary steps and tips for a successful roofing project.
Understanding Asphalt Shingles
Asphalt shingles are typically composed of fiberglass mats coated with asphalt and granules. These shingles come in two main types three-tab and architectural. Three-tab shingles are flat and have a uniform appearance, while architectural shingles are thicker and provide a dimensional look. Both types are available in various colors, allowing homeowners to choose an option that complements their home’s design.
Tools and Materials Needed
Before you begin, it's essential to gather the following tools and materials
Tools - Ladder - Measuring tape - Chalk line - Utility knife - Roofing hammer or nail gun - Stapler - Shingle remover (for tear-offs) - Safety harness (for steep roofs)
Materials - Asphalt shingles - Underlayment (felt paper or synthetic) - Starter shingles - Roof flashing - Nails (specific to roofing) - Roof cement (for sealing)
Step-by-Step Installation Process
Step 1 Prepare the Roof Deck
The first step in any roofing project is to ensure the roof deck is in good condition. Remove any old shingles and check for damaged plywood or boards. Replace any compromised sections to ensure a solid base.
Step 2 Install Underlayment
After making repairs, cover the roof deck with an underlayment. This is often either felt paper or a synthetic product that provides an additional moisture barrier. Start at the bottom edge of the roof and work your way up, overlapping each row by several inches. Secure the underlayment with staples or nails.
asphalt roof shingles installation
Step 3 Install Starter Shingles
Once the underlayment is properly installed, it’s time to put down the starter shingles. These shingles are typically placed along the eaves to create a seal and ensure water runs off the roof properly. Cut the starter shingles to fit, allowing them to overhang the edge of the roof slightly.
Step 4 Lay the Shingles
Beginning at the bottom or eave of the roof, install the first row of shingles. Align the edge of the shingles with the starter course and nail down each shingle according to the manufacturer’s specifications, usually using four to six nails per shingle. Stagger the seams of the subsequent rows for better water resistance. This means starting the second row with a half-shingle.
Step 5 Install Flashing
As you approach areas like chimneys, vents, or roof valleys, install flashing to prevent leaks. Flashing is typically made of metal and requires precise cutting and fitting. Ensure that all edges are sealed with roof cement to provide maximum protection against water infiltration.
Step 6 Finishing Touches
Continue laying shingles until reaching the roof ridge. For the final row, cut shingles to fit, leaving a small gap for ventilation. Install ridge cap shingles over the top to create a finished look and provide additional protection against wind and water.
Tips for Success
- Weather Considerations Avoid installation during rainy or extremely windy conditions. - Safety First Always take proper safety precautions when working at heights. Use a sturdy ladder and harness if necessary. - Follow Manufacturer Instructions Always adhere to the specific guidelines provided with your asphalt shingles for the best results.
Conclusion
Installing asphalt roof shingles can be a rewarding project that enhances your home’s curb appeal while providing long-lasting protection. With the right tools, materials, and a careful approach, even DIY enthusiasts can achieve professional-looking results. Whether you are replacing an old roof or building anew, understanding and following the steps in this guide will help ensure a successful installation. Happy roofing!
Previous:
Next:
Latest news
-
New Roof Shingles Losing Granules? Durable Solutions & Prevention Tips
NewsMay.17,2025
-
Terracotta Roof Cost Durable & Affordable Tile Solutions
NewsMay.17,2025
-
Clay Tile & Asphalt Roof Repairs Expert Solutions & Fast Fixes
NewsMay.16,2025
-
How Long Do Clay & Cement Tile Roofs Last? + Durability Tips
NewsMay.16,2025
-
High-Reflective Asphalt Glass Shingles Durable & Energy-Efficient Roofing
NewsMay.15,2025
-
Laminated Shingles Price Durable & Affordable Roofing Solutions Explore Now
NewsMay.15,2025


Copyright © 2025 Hebei Chida Manufacture and Trade Co., Ltd. All Rights Reserved. Sitemap | Privacy Policy