Aug. . 30, 2024 17:59 Back to list
Professional Asphalt Roll Roofing Installation Services
A Step-by-Step Guide to Asphalt Roll Roofing Installation
Asphalt roll roofing is a popular choice among homeowners and contractors for its durability, affordability, and ease of installation. Whether you're looking to cover a shed, garage, or even a sloped roof on your home, this material offers a practical solution. In this article, we will guide you through the process of installing asphalt roll roofing, ensuring that you have all the necessary information to achieve a successful project.
Materials and Tools Required
Before you start, gather the following materials and tools
Materials - Asphalt roll roofing (choose the right size for your project) - Roofing felt (underlayment) - Roofing nails or staples - Roof cement - Flashing (for edges and intersections)
Tools - Utility knife - Hammer or nail gun - Measuring tape - Ladder - Straight edge or carpenter's square - Chalk line - Safety goggles and gloves
Preparation
1. Inspect Your Roof Before beginning installation, assess the current state of your roof. Ensure that it is clean, dry, and free of any debris. Repair any damaged areas to create a solid foundation for the roofing.
2. Measure and Cut Measure the area of your roof to determine how much roll roofing you will need. Based on your measurements, cut the asphalt roll roofing into manageable strips, typically 36 inches wide.
3. Install Underlayment Lay down a layer of roofing felt over the entire roof surface. This underlayment acts as an additional water barrier and can prevent leaks. Tack it down with nails or staples, ensuring that seams overlap by at least 4 inches.
Installation Process
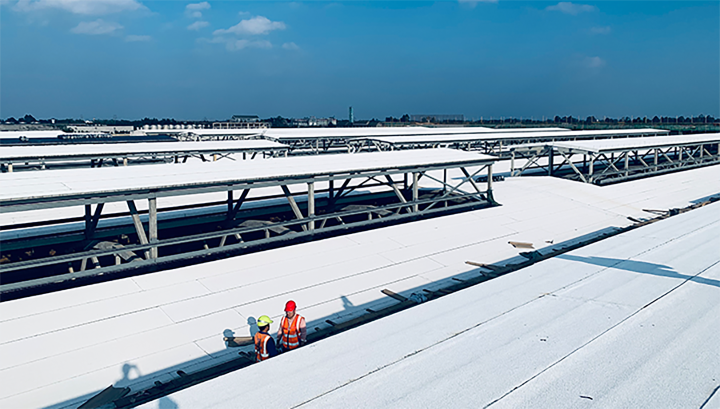
asphalt roll roofing installation

1. Start from the Bottom Begin installation at the lower edge of the roof and work your way upward. This ensures that each strip overlaps the previous one, preventing water from seeping beneath.
2. Lay the First Strip Position the first strip of asphalt roll roofing across the underlayment. Ensure that it extends over the edge of the roof by about an inch or so for better water runoff.
3. Fasten the Roofing Secure the strip in place using roofing nails or staples, spaced approximately every 6 inches along the edges and every 12 inches in the field of the roofing. Make sure to drive the nails in flat so that they do not puncture the roofing material.
4. Overlap Subsequent Strips When laying the next strip, overlap it by at least 4 inches over the previous strip and repeat the fastening process. Continue this process across the roof.
5. Finish the Edges At the eaves and ridges, apply flashing to protect against water intrusion. Use roof cement to seal the edges of the roofing and any seams.
Final Steps
1. Trim Edges Once all the strips are installed, trim any excess roofing material from the edges of the roof.
2. Inspect Your Work Take a moment to walk around your roof and inspect your work for any missed nails or overlapping strips that need to be adjusted.
3. Clean Up Finally, clean up any debris and unused materials from the site to complete the project.
Conclusion
Installing asphalt roll roofing can be a straightforward project if you follow these steps carefully. With the right materials and tools, you can enhance your roof’s durability while also improving its appearance. Always remember to prioritize safety, and don't hesitate to consult a professional if you're unsure about any part of the installation process.
-
Types of Roof Shingles: Durable Styles & Materials
NewsAug.04,2025
-
Different 3 Tab Shingles Types | Affordable & Durable Roofing
NewsAug.03,2025
-
Moonlight White HIREFLE Granules with GPT-4 Turbo
NewsAug.02,2025
-
Premium Round Asphalt Shingles: Durable & Elegant Roofing
NewsAug.01,2025
-
Eco-Friendly Clay Tiles | AI-Enhanced Durability
NewsJul.31,2025
-
Durable Shingle Granules for Premium Roofs
NewsJul.31,2025


