Set . 11, 2024 11:00 Back to list
Expert Guide to Installing New Roof Shingles
Installing New Roof Shingles A Comprehensive Guide
Roof shingles are vital for protecting your home from the elements, and installing new ones can significantly improve both the aesthetic appeal and functionality of your roof. Whether you're considering a DIY project or hiring a professional, understanding the installation process is crucial for achieving the best results.
Choosing the Right Shingles
Before diving into the installation process, it's essential to select the right type of shingles for your home. There are various materials available, including asphalt, wood, metal, and tile. Asphalt shingles are the most popular choice due to their affordability, durability, and ease of installation. On the other hand, wood shingles offer a more natural aesthetic, while metal shingles provide excellent longevity and performance against severe weather conditions.
Preparation is Key
Once you've chosen your shingles, proper preparation is the next step. Begin by inspecting your existing roof for damage, such as leaks, rot, or missing shingles. If you notice significant issues, it might be wise to repair them before proceeding with the installation. Additionally, ensure you have all the necessary tools and materials, including roofing nails, underlayment, and a nail gun or hammer. Safety equipment, such as gloves and goggles, is also essential.
Removing Old Shingles
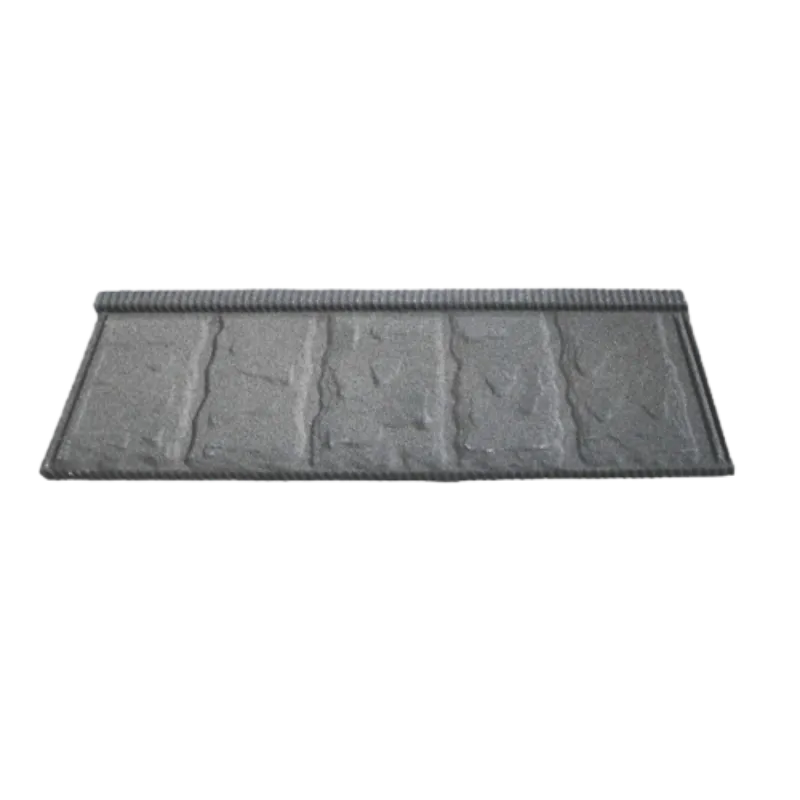
installing new roof shingles

When you're ready to start, the first task is to remove the old shingles. Use a pry bar to lift the shingles and a roofing shovel to scrape them away from the roof deck. This step can be time-consuming but is crucial for achieving a smooth and effective installation of the new shingles. After removing the old shingles, inspect the roof deck for any damage. Replace any rotten or weakened wood before proceeding.
Installing New Shingles
With a clean and repaired roof deck, you can begin installing the new shingles. Start by laying down underlayment, which provides an additional layer of protection against moisture. Once the underlayment is in place, begin placing the shingles from the bottom of the roof and work your way up. Overlap each row, following the manufacturer's guidelines to ensure proper alignment and coverage. Use roofing nails to secure each shingle, taking care not to hammer too deeply to prevent damage.
Finishing Touches
After installing all the shingles, inspect the roof for any gaps or inconsistencies. Make necessary adjustments and ensure that all shingles are securely fastened. Finally, clean up any debris or leftover materials from the installation process.
In conclusion, installing new roof shingles can be a rewarding project that enhances your home’s protection and appearance. With careful planning and execution, you can achieve a durable and attractive roof that will last for years. Whether you choose to do it yourself or hire a professional, understanding the process is essential for a successful outcome.
-
Premium Stone Coated Metal Roof Tiles | Spain Tile
NewsAug.05,2025
-
Types of Roof Shingles: Durable Styles & Materials
NewsAug.04,2025
-
Different 3 Tab Shingles Types | Affordable & Durable Roofing
NewsAug.03,2025
-
Premium Round Asphalt Shingles: Durable & Elegant Roofing
NewsAug.01,2025
-
Eco-Friendly Clay Tiles | AI-Enhanced Durability
NewsJul.31,2025
-
Durable Shingle Granules for Premium Roofs
NewsJul.31,2025


