Каст . 14, 2024 10:28 Back to list
rolled asphalt roofing installation
Rolled Asphalt Roofing Installation A Comprehensive Guide
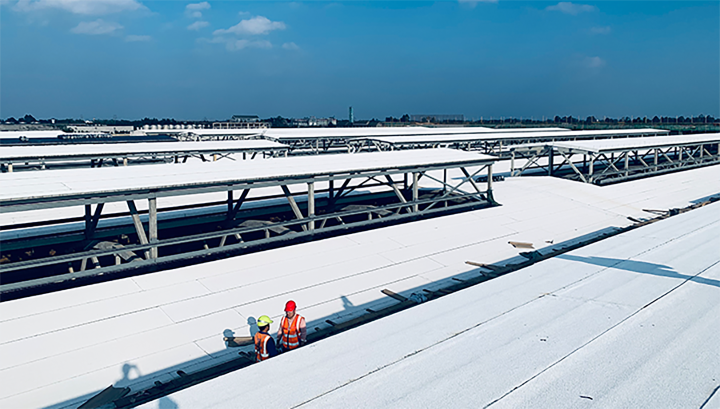
Rolled asphalt roofing, commonly known as rolled roofing, is a popular choice for flat or low-slope roofs. It is easy to install, cost-effective, and offers decent durability, making it ideal for sheds, garages, and other outbuildings. In this article, we will explore the installation process of rolled asphalt roofing, highlighting essential steps and tips for achieving a quality finish.
Preparation and Materials
Before beginning the installation, gather all necessary materials and tools. You will need rolled asphalt roofing, roofing nails, roofing cement, a utility knife, a chalk line, a measuring tape, and a roller or broom for smoothing. Ensure the roof deck is clean, dry, and in good condition. Remove any debris, old roofing materials, or loose nails to provide a solid foundation for the new roofing.
Measuring and Cutting
Start by measuring the dimensions of the roof. Each roll of asphalt usually measures 3 feet wide by 36 feet long, covering approximately 100 square feet. Calculate how many rolls will be necessary, allowing for some extra material to accommodate overlaps and mistakes.
When cutting the rolled roofing, unwind the material and use the utility knife to cut it to the desired length
. Remember to account for an overhang at the edges to ensure proper water runoff and to protect the roof deck.rolled asphalt roofing installation

Installation Process
1. First Layer Begin at the lower edge of the roof, rolling the first sheet parallel to the eaves. Leave about a 1-inch overhang. Use roofing cement to secure the upper edge of the rolled roofing. Then, nail the sheet down every few feet, ensuring that nails are placed below the overlap seam.
2. Overlap For subsequent rows, overlap the lower edge of the new roll onto the upper edge of the previous roll by about 6 inches. Use chalk lines to maintain straight edges. This overlap is crucial for preventing water from seeping through the seams.
3. Sealing After installing all the layers, apply roofing cement along the seams and nail heads to seal any potential leaks. Pay special attention to the edges and corners, as these areas are more prone to water infiltration.
4. Final Touches Once all rolls are installed and sealed, inspect the roof for any loose sections or gaps. Make any necessary adjustments. Ensure that any edges are trimmed cleanly, and the overhangs are uniform.
Conclusion
Installing rolled asphalt roofing can be a straightforward project for homeowners looking to improve their roofing system. With careful planning, preparation, and execution, you can enhance the longevity and performance of your roof. Always take safety precautions throughout the process and consult professionals if unsure about any steps involved. With the right approach, your rolled asphalt roof can provide reliable protection for years to come.
-
Stone Coated Metal Roof Tile-Roman Tile for Durable Roofing Solutions
NewsJul.30,2025
-
Stone Coated Metal Roof Tile-Wood Grain Tile for Durable Roofing
NewsJul.30,2025
-
Stone Coated Metal Roof Tile-Nosen Tile: Durable, Stylish Roofing Solution
NewsJul.29,2025
-
Premium Moonlight White HIREFLE Granules for High-Quality Surfaces
NewsJul.29,2025
-
Stone Coated Metal Roof Tile-Grouper Tile | Durable & Stylish Roofing
NewsJul.29,2025
-
High-Quality Roofing Granules for Sale – Durable & UV Resistant Solutions
NewsJul.28,2025


