
coolroof@cnchida.com
+86 13803333363
 Afrikaans
 Albanian
 Amharic
 Arabic
 Armenian
 Azerbaijani
 Basque
 Belarusian
 Bengali
 Bosnian
 Bulgarian
 Catalan
 Cebuano
 Corsican
 Croatian
 Czech
Czech
 Danish
 Dutch
Dutch
 English
 Esperanto
 Estonian
 Finnish
 French
 Frisian
 Galician
 Georgian
 German
 Greek
Greek
 Gujarati
 Haitian Creole
 hausa
hausa
 hawaiian
 Hebrew
 Hindi
Hindi
 Miao
Miao
 Hungarian
 Icelandic
 igbo
igbo
 Indonesian
 irish
irish
 Italian
 Japanese
 Javanese
 Kannada
 kazakh
 Khmer
Khmer
 Rwandese
 Korean
 Kurdish
 Kyrgyz
 Lao
Lao
 Latin
Latin
 Latvian
 Lithuanian
 Luxembourgish
 Macedonian
 Malgashi
 Malay
Malay
 Malayalam
 Maltese
 Maori
Maori
 Marathi
 Mongolian
 Myanmar
 Nepali
 Norwegian
 Norwegian
 Occitan
 Pashto
 Persian
 Polish
 Portuguese
 Punjabi
 Romanian
 Russian
 Samoan
 Scottish Gaelic
 Serbian
 Sesotho
 Shona
Shona
 Sindhi
 Sinhala
 Slovak
 Slovenian
 Somali
 Spanish
 Sundanese
 Swahili
 Swedish
 Tagalog
 Tajik
Tajik
 Tamil
Tamil
 Tatar
Tatar
 Telugu
 Thai
Thai
 Turkish
 Turkmen
 Ukrainian
 Urdu
Urdu
 Uighur
 Uzbek
Uzbek
 Vietnamese
 Welsh
Welsh
 Bantu
Bantu
 Yiddish
 Yoruba
 Zulu
Zulu
ታኅሣ . 26, 2024 03:26 Back to list
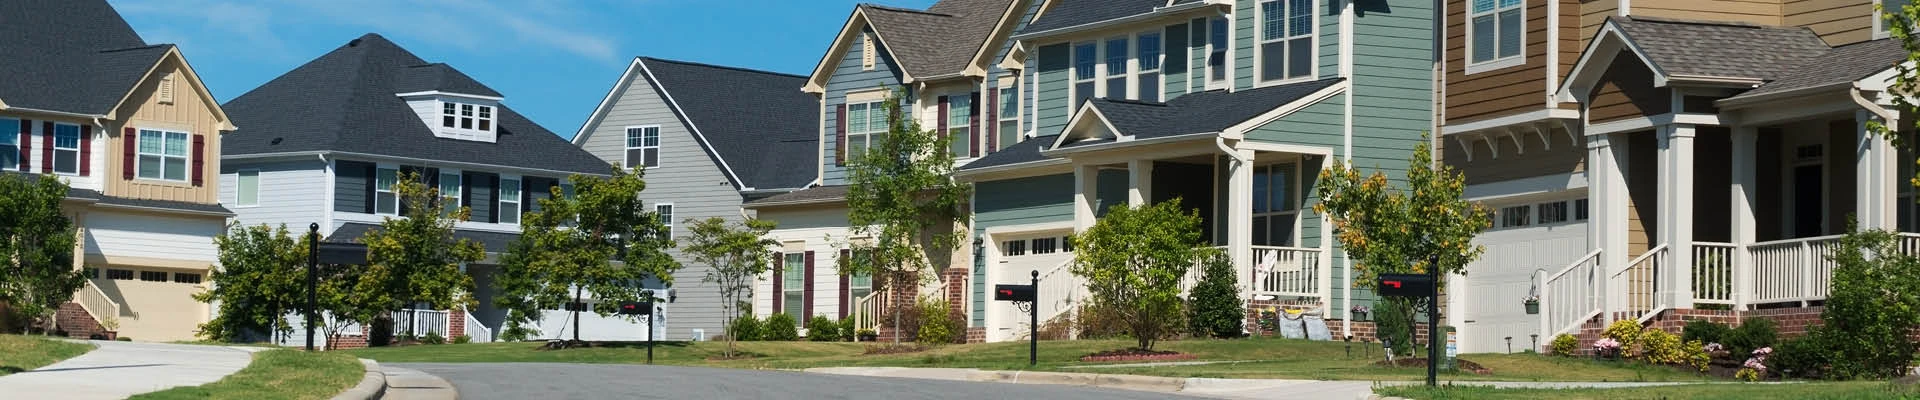
Steps to Successfully Replace Individual Roof Shingles for Homeowners
Replacing Individual Roof Shingles A Step-by-Step Guide
Maintaining the integrity of your roof is crucial for the overall health of your home. Over time, weather conditions, wear and tear, and age can lead to damaged or missing shingles. In such cases, replacing individual roof shingles can be a convenient and cost-effective solution. This article will guide you through the steps necessary to replace an individual roof shingle, ensuring your roof remains in top condition.
Understanding When to Replace
Before diving into the process, it’s essential to determine when a shingle needs replacing. Signs of damage can include
- Cracked or broken shingles - Missing shingles - Shingles that have buckled or curled - Signs of leaks inside your home
If you notice any of these issues, it’s time to inspect your roof carefully.
Gather Your Tools and Materials
Before you start the replacement process, ensure you have the following tools and materials on hand
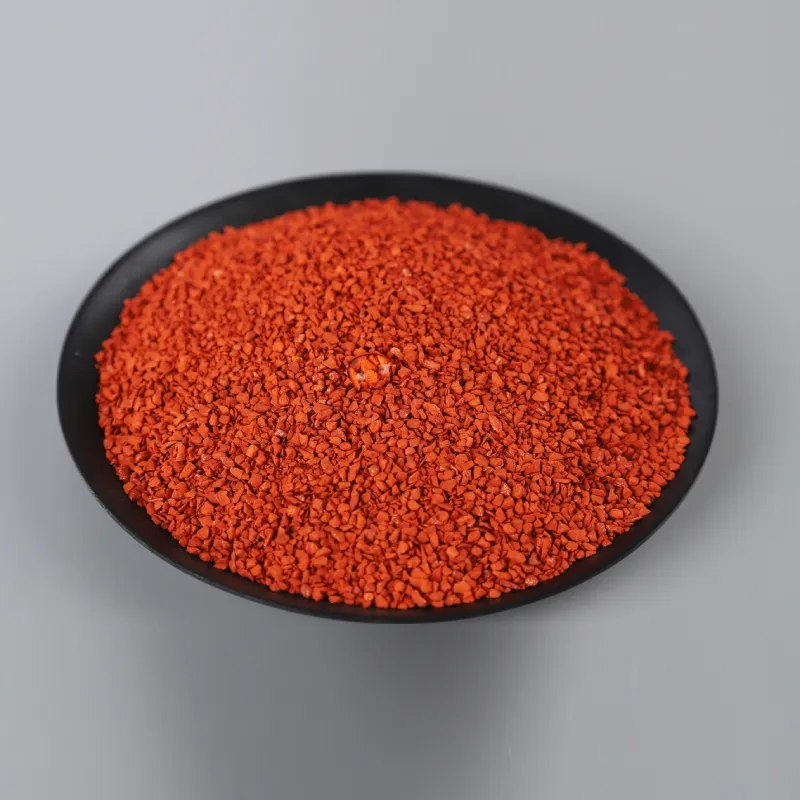
- Replacement shingles (matched to your existing roof) - Roofing nail gun or hammer - Roofing nails - Utility knife - Caulk (for sealing) - Safety ladder - Work gloves - Safety goggles
Step-by-Step Replacement Process
Step 1 Safety First
Before climbing onto your roof, ensure you prioritize safety. Use a sturdy ladder and wear non-slip shoes. If your roof has a steep pitch, consider having a friend assist you or hiring a professional.
Step 2 Identify the Damaged Shingle
Once on the roof, locate the damaged shingle. Examine its edges to determine if it is simply cracked, curled, or entirely missing. This assessment will help you understand how to proceed with the replacement.
replacing individual roof shingles
Step 3 Remove the Damaged Shingle
To remove the damaged shingle, start by prying up the two shingles above it using a utility knife or pry tool. This will expose the nails securing the damaged shingle. Carefully pull out the nails with a hammer or pliers. Once free, gently slide the damaged shingle out from underneath the overlapping shingles.
Step 4 Prepare the Replacement Shingle
Before inserting the new shingle, prepare it by cutting it to the appropriate size if necessary. Make sure it matches the profile and color of your existing shingles for a seamless look.
Step 5 Install the New Shingle
Position the new shingle in place. Ensure it aligns with the shingles on either side and is adequately covered by the shingles above it. Secure the shingle with roofing nails, placing them under the tabs of the shingles above, and ensure they are driven in straight. Be careful not to apply too much force, as this can damage the new shingle.
Step 6 Seal the Shingle
After securing the new shingle, use roofing caulk to seal the edges of the shingle. This step is crucial in preventing water infiltration and prolonging the life of the shingle.
Step 7 Clean Up
Once the shingle is in place and secured, clean up any debris from your work area. Dispose of the old shingles and any leftover materials properly to prevent hazards.
Final Inspection
After replacing the shingle and cleaning up, take a moment to inspect your work. Ensure that the new shingle is securely installed and conforms well with the existing shingles.
Conclusion
Replacing individual roof shingles can be a straightforward DIY task with the right tools and a little patience. Not only does this practice extend the life of your roof, but it also protects your home from potential water damage. However, if you feel uncertain or if the damage is extensive, do not hesitate to reach out to a professional roofer. Regular maintenance and prompt repairs will keep your roof in good condition for years to come. Remember, a well-maintained roof is key to a safe and comfortable home.
Latest news
-
Terracotta Roof Cost Durable & Affordable Tile Solutions
NewsMay.17,2025
-
Clay Tile & Asphalt Roof Repairs Expert Solutions & Fast Fixes
NewsMay.16,2025
-
How Long Do Clay & Cement Tile Roofs Last? + Durability Tips
NewsMay.16,2025
-
High-Reflective Asphalt Glass Shingles Durable & Energy-Efficient Roofing
NewsMay.15,2025
-
Laminated Shingles Price Durable & Affordable Roofing Solutions Explore Now
NewsMay.15,2025
-
Cost to Replace Roof with Architectural Shingles 2024 Pricing & Savings
NewsMay.14,2025


Copyright © 2025 Hebei Chida Manufacture and Trade Co., Ltd. All Rights Reserved. Sitemap | Privacy Policy