Jan . 01, 2025 17:30 Back to list
Guidelines for Installing Tin Roofing Over Shingle Roofs Effectively and Safely
Installing Tin Over Shingles A Comprehensive Guide
Installing tin over shingles is an effective solution for homeowners looking to upgrade their roofing without the hassle of removing old shingles. It provides a durable, weather-resistant surface that can enhance the overall appearance of your home while adding an extra layer of insulation. However, proper preparation and installation are essential to ensure longevity and effectiveness. Here’s a step-by-step guide to help you navigate the process.
1. Assessing the Existing Roof
Before proceeding with the installation, it is crucial to evaluate the condition of your existing shingles. Look for any signs of damage such as curling, cracking, or significant wear. If the shingles are in poor condition, it might be worth considering repair or replacement before installing the tin. However, if the shingles are still intact and offer a solid base, you can move forward with the tin installation.
2. Gathering Materials and Tools
To start the installation, you will need several materials - Tin panels (ensure they are of high quality and suitable for roofing) - Metal screws and flashing - Underlayment (if necessary) - A roofing hammer or nail gun - A measuring tape - Safety gear (gloves, goggles, and a hard hat) - Ladder or scaffolding
3. Preparing the Roof Surface
Clear the roof of any debris, leaves, or loose shingles. If you find any damaged shingles, repair them first. For additional protection, consider laying down a layer of underlayment; this will help ensure moisture does not penetrate between the shingles and the tin.
4. Measuring and Cutting the Tin
Measure the dimensions of your roof to determine how many tin panels you will need. It is crucial to accurately cut the panels to fit your roof's specific angles and valleys. Use a metal snip or a suitable cutting tool to avoid damaging the panels.
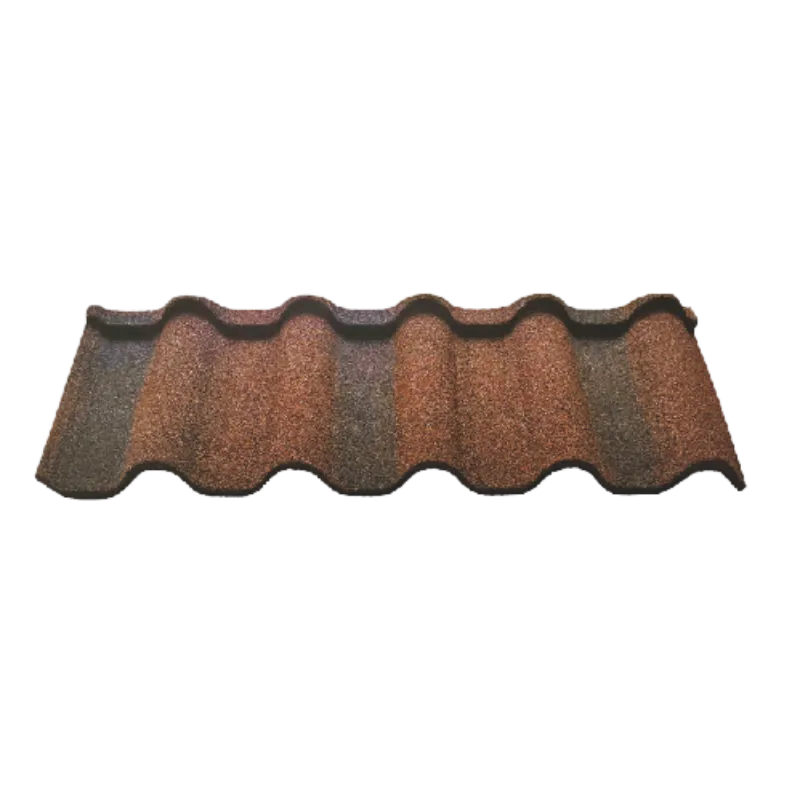
installing tin over shingles

5. Installing the Tin Panels
Start by placing the first tin panel at the lowest point of the roof, ensuring it overlaps the edge of the shingles. For optimal water runoff, you should follow a systematic installation process, moving upward from the eaves. Secure each panel with metal screws, ensuring they penetrate both the tin and the underlying shingles.
Ensure that you place screws approximately every two feet along the seams and edges of the tin panels. Additionally, where panels intersect, use flashing to create a waterproof seal, preventing water from seeping underneath.
6. Finishing Touches
Once all panels are installed, double-check that every seam and edge is secured properly. Look for any gaps or potential weak spots that could allow moisture in. Inspect the roof from a distance to ensure that the installation appears uniform and aesthetically pleasing.
7. Maintenance and Care
After installation, it’s important to perform regular inspections of your new roof. Check for loose screws, minor damages, or signs of rust. Maintaining the integrity of your tin roof will prolong its lifespan and ensure it continues to provide protection against the elements.
Conclusion
Installing tin over shingles can be a smart investment that enhances the durability and appearance of your home. By following these steps and taking the time to prepare and install correctly, you can enjoy the benefits of a new roof without the burden of complete shingle removal. Whether you're a DIY enthusiast or hiring a professional, understanding the process will help you make informed choices and ensure a successful installation.
-
Black Clay Tile: Durable, Sustainable Roofing for Modern Needs
NewsNov.24,2025
-
Red Clay Roof Tiles: Durable, Sustainable & Stylish Roofing Solutions
NewsNov.23,2025
-
Durable and Sustainable Ceramic Roofs: A Global Perspective on Design & Innovation
NewsNov.23,2025
-
Synthetic Clay Tile Roof – Durable, Eco-Friendly Roofing Solutions for Modern Buildings
NewsNov.22,2025
-
Expert Guide to Terracotta Tile Roof Restoration - Sustainable Preservation & Repair
NewsNov.21,2025
-
Planum Roof Tiles – Durable, Sustainable Flat Roofing Solutions for Global Needs
NewsNov.20,2025


